Tuesday, May 31, 2011

DIY Backyard Oasis

So I have been planning a backyard renovation for sometime now...there is an area in our yard that NO grass would grow...nothing but dust!  And our dogs and any breeze would just stir it all up and my porch was constantly COVERED in dirt!

I mean, I never wanted to be out there because I'd be disgusted by the way it looked! Which in turn meant my kids could never play outside.

Well, I had had ENOUGH!  And I planned a beautiful patio garden on a budget.
A $200 budget.

And here it is...
 We had a great time and I REALLY REALLY LOVE IT!!!
It really is an oasis to sit around the flowers with the candles going and watch the kiddo's play in the backyard.  

Plus, it was super cheap and we did it all in 2 days!


First, you start out with a few land scape timbers.  You could use any kind of border you want, but we snagged these suckers for free so that's what we went with.  We got a few 8" nails, pre-drilled the holes and staked them to the ground to keep em from rolling around.

So plan where you want it and how big you want it and pull up the turf (or in our case, lack there of).  Then level the ground.  We went the extra mile and really loosened the dirt to make it easy to level the stones, that way we could save a little $$$ and not have to buy bags of leveling sand.

Then, place your stones.  We made it easy on ourselves and used a 2x4 to space them.  No measuring!  So laying them down was super quick.  We used 1x1 concrete pavers in the "sand stone color".  Not the most glamorous choice in stone, but economical at $1.27 a piece.  We did 40 pavers in 5 rows of eight.
I used some chairs I already had and used it to make sure everything was level.

The mulch was the only thing I splurged on...I wanted cedar.

I then planned where I wanted the flowers.  When you go to get flowers...check out the sales!  There are usually good sales on annuals at the beginning of the season.  


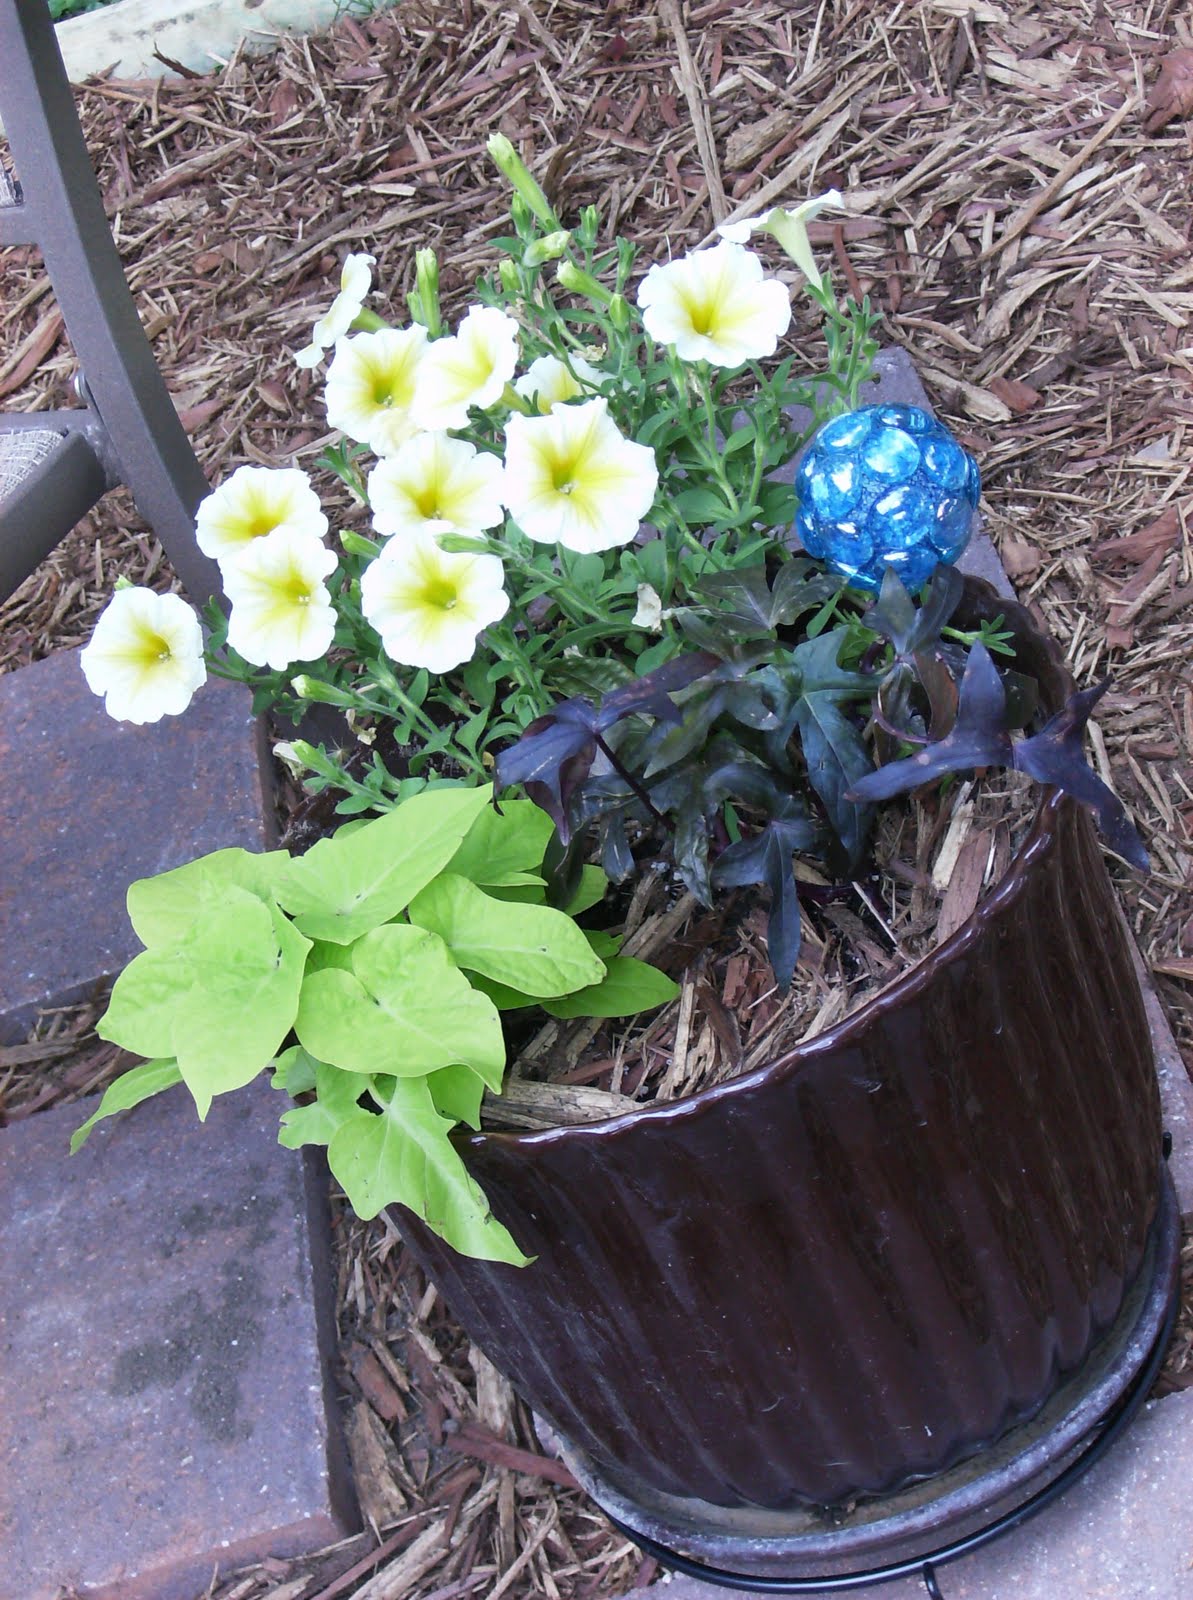
I also went super cheap on pots.  I wanted ceramic (I already had one), but hey plastic will do.  I snagged a bunch at the Dollar Tree, some in that horrible, fake terra cotta color.  No problem, I spray painted them green. I filled in the corners of the garden with flowers as well.


Then, to spruce it up even more, I did some DIY garden spheres from my decor ball tut.
Just spray paint a dowel rod and you know the rest.  I LOVE how they turned out!  I plan on making more...

I added some things I already had on hand such as some plant stands, the chairs and the fire pit and I got a backyard oasis...and the grand total with tax for everything from the glass beads and Styrofoam balls to the cedar mulch and pavers was only $189.85.


I plan on adding more and more flowers a little at a time, as well as a few more pavers leading to the gate.  But the next big step for the garden will be a DIY pergola!

xoxo
Ginger


Monday, May 30, 2011

Mad Skills Monday #58

Hi  everyone!
Happy Memorial Day!

Sorry for the be-lated post for Mad Skills but we were busy celebrating the holiday yesterday with family.
Here are the show stoppers from last week...


I am in LOVE with these too cute Mickey and Minnie Onsies from Stubbornly Crafty!
Aren't they stink'n adorable!!!

Check back at her blog for day 2 of the tut!

And just look at this lovely spring wreath from Creative Passage!
Love all the mixed media..

Great work everyone! Loved checking everything out this week!
Due to time constraints, I was not able to post comments to each and every link. I will try my very best in future parties to post to every link, but may not be able to.
If you were featured today, please feel free to snag the featured button for your blog!

Photobucket


This week, I'm sharing my DIY decor jars!
  Now its your turn!
1. Link up something crafty, creative, or fun that you wanna share!

2. Please link to the blog post and not your main page.

3. No shopping pages please. An offer to buy your item at the end of a tut is welcomed!

4. Snag the Mad Skills button and include it on your tut post so others can see where you've linked! (PS- this button was designed from my sons art work....if you are interested in a custom button, please contact me!)

5. PLEASE VISIT AT LEAST 2 OTHER LINKS IN THE PARTY AND LEAVE SOME COMMENT LOVE!
This linky party will end on Friday the 3rd at midnight.


Friday, May 27, 2011

Jack's MONSTER JAM 4th Birthday Party!

So the little young'n turned 4...so I think by now, we've made up our mind to go ahead and keep him.
Just kidding :)

Man,we had a great time!  Total and complete MAYHEM in my tiny house, but who knew 40 bodies could fit in my living room!?

So since my dad took all the boys to go see Monster Jam (aka monster truck show) a few weeks ago, we had to do a moster truck theme...

and I'll just be damned if the Dollar Tree didn't have a whole cute little line of Monster Truck themed b-day supplies!!The b-day gods were smiling on me :)


(I forgot to take a pic of everything set up, but you get the idea)
But check out the cake...of course, my dad did it.

You've seen his work here, here, and here!
Look how huge it is compared to Jack!
In case you wondering, the cake box is actually a little "stadium".  (my dad's a packaging designer and can make anything out of corrugated).  The cake is decorated like a dirt track and we bought a bunch of mini monster trucks from Wal-Mart and stuck em on!  Best of all, he still has the stadium and plays "monster truck show" all the time.

And of course, Jack loved all his presents.  Check out all the loot!
And birthday games...nah.  Who's wants to do that?
I just turned on the funky sprinkler and put out the kiddie pool...the kids were satisfied with that.

(you can't really see the sprinkler, but that's what my dog is so interested at in the pic above; she's so dumb :)

I got all the plates, decor, napkins, streamers, even Mylar balloons from the Dollar Tree...not bad.
I think the total for decorations and party supplies was like $40.  Throw in some hot dogs, chips, and popsicles...maybe another $20.  And we kept it light on the presents from us since we have such a huge family...he got TONS of new toys.  I only spent $30-40 on his presents.
That's an entire 4th birthday for under $100.

He had a great time!  Happy 4th kiddo!

Ginger
xoxo

Thursday, May 26, 2011

Recycle and Upcycle your Recyclables!

Huh?  That's right...recycle your recyclables into vases or candle holders!


Make a beautiful vase or candle holder with your glass recyclable jars.

First, clean the gook off the sides from the labels.

Now they stand pretty...

Get you an assortment of glass decor beads and warm up your hot glue gun.
Then, just start gluing away...or do a pattern?

All done?  Dress it up even more by wrapping ribbon or jute around the opening.

Place a candle and have a custom candle holder or use as a vase.  
Either way, its a win, win!

Enjoy!

xoxo
Ginger

Wednesday, May 25, 2011

Whatever Wednesday #30

This weeks Whatever Wednesday is a fun activity the kids did at school and I thought I'd share it!
Very practical and easy...I'm sure many of you have already done this in one way or another.

Sink or Float?

Get a bin and fill with water.  Let the kiddo's run around gathering things they think will either sink or float...an educational guessing game!

Jackie certainly enjoys it.  Way to go Mrs. Weeks!  Another keeper.

Enjoy the day peeps!

xoxo
Ginger

Tuesday, May 24, 2011

Red and Toile'n!

So remember my mommy's Mothers Day Gift?
Well, turns out mom is super picky has a keen design taste and would absolutely love to see a shadow box with red silver ware in it.

And why not?


I got another little wooden tray and some silver ware from...you guessed it, the Dollar Tree.

I spray painted a spoon and fork red and let dry.  I also spray painted the tray the same light coat of off-white and let dry.

Once dry, I then did the same technique in applying the toile contact paper to the inside of the box, hot glued my silverware into place and glued some jute around the edge and ta da!

 Love it!

xoxo
Ginger

Monday, May 23, 2011

Mad Skills Monday #57

Hi all!  Sorry for the delay in posting Mad Skills but I have been sick sick SICK
with a sinus infection...plus, this past Saturday was Jackie's 4th birthday party!!!
I'll share more about that in a later post, but for now...Mad Skills!

Last weeks show stoppers are...

this too cute wood organizer re-do from At Home with Michelle

Lov'n this totally adorable B-B-Q table setting from Lady Behind the Curtain

Easy and awesome t-shirt re-do from Sew What's Happening?

And drooling over this DIY antiqued mirror from Salvage Savvy
Great work everyone! Loved checking everything out this week!
Due to time constraints, I was not able to post comments to each and every link. I will try my very best in future parties to post to every link, but may not be able to.
If you were featured today, please feel free to snag the featured button for your blog!

Photobucket


This week I am sharing my magazine charms
 Now its your turn!
1. Link up something crafty, creative, or fun that you wanna share!

2. Please link to the blog post and not your main page.

3. No shopping pages please. An offer to buy your item at the end of a tut is welcomed!

4. Snag the Mad Skills button and include it on your tut post so others can see where you've linked! (PS- this button was designed from my sons art work....if you are interested in a custom button, please contact me!)

5. PLEASE VISIT AT LEAST 2 OTHER LINKS IN THE PARTY AND LEAVE SOME COMMENT LOVE!
This linky party will end on Friday the 27th at midnight.

Photobucket


Related Posts with Thumbnails