So I made some cute garbage catchers for the car for all the ladies in the family...
and here is the promised new and improved tut!

The best thing about this project is that you can use up a bunch of scrap...I only bought fabric for one bag because my mom is picky because my mom requested a certain color scheme.
You will need:
(4) 7.5 x 11 pieces of fabric (2 for the main fabric and 2 for the liner)
(1) 7 x 3 piece of fabric for the loop
thread, scissors, iron, sewing machine, etc.
Step 1: cut out your 4 main pieces and the loop piece

Step 2: tri-fold and iron the loop piece long ways, then sew right down the middle with a zig zag

Step 3: sew your 2 main pieces (right sides together) in a basic bag form

Step 4: sew you liner pieces (right sides together) in a basic bag form with a hole in the bottom to turn inside out
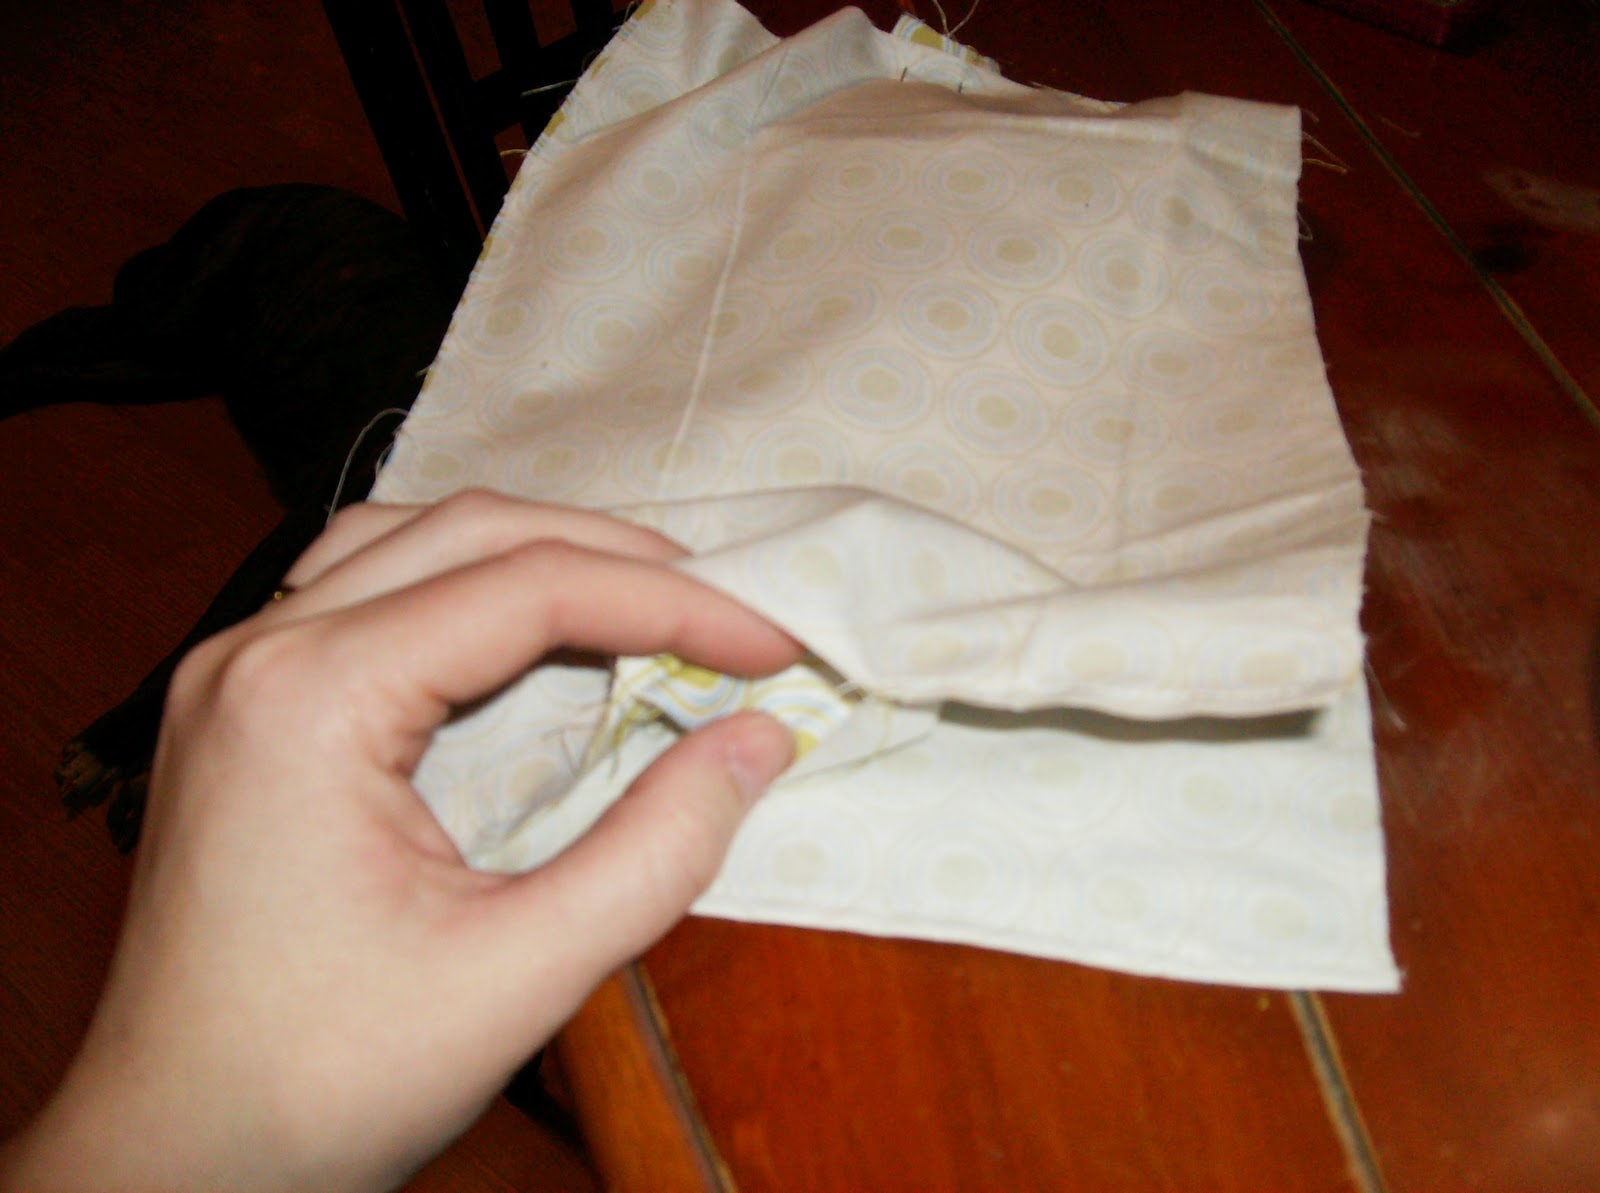
Step 5: now it can get a little tricky...lay the completed piece (outside fabric) down on the table and lay the piece with the hole (liner fabric) right on top. So counting the "sheets" of fabric, there will be 4 on top of one another (the bottom 2 sewn together and the top 2 sewn together).
Pinch the VERY BOTTOM sheet and the VERY TOP sheet together and fold the 2 middle pieces down inside so you will not catch them in the sewing machine.
Step 6: Fold the loop in half and place IN BETWEEN your pinched layers with the TRI-FOLD SEAM FACING DOWN. Pin in place.
(so to re-cap, loop seam facing down pinned between the top and bottom layers...the middle layers smooshed down so as not to catch them in the sewing machine)

Step 7: Sew the fabric all the way around; double up around the loop for extra support.

Step 8: After sewing, it should look like this.

Step 9: Then, turn right side out thru the little hole we left in the liner.
Now it look like this...much like a pillow case.

Step 10: Sew the little hole closed.

Step 11: Then stuff the liner part into the main part.

Step 12: Iron the bag flat a little and top stitch around the opening.

Step 13: Reinforce the sides about an inch down for extra support...and this helps the bag to not "gape" open when hanging in the car.

All done!
And quick too...it only took me about 20 minutes to make!

And a quick way to present it to a friend...
I took a regular sticky Christmas name tag and stuck it on some card stock. Roll up the bag, punch a hole in the card stock and tie with a ribbon!

Enjoy!
Ginger
SSB
I'm linking:
Craftastic Monday at Sew Can Do
Tot Tuesday at My Delicious Ambiguity
Creative Juice Tuesdays at These Creative Juices
Fingerprints on the Fridge
Keeping It Simple
The Trendy Treehouse
Craftastic Monday at Sew Can Do
Tot Tuesday at My Delicious Ambiguity
Creative Juice Tuesdays at These Creative Juices
Fingerprints on the Fridge
Keeping It Simple
The Trendy Treehouse


Cute! I might make one with some clear vinyl over the inside liner to give it a little more 'ick' protection from dirty tissues and the like, although I guess the fabric only version is easy to launder. Great project!
ReplyDeleteGreat gift idea!
ReplyDeleteI need one of these on every doorknob in my house...as a novice in sewing...I think I will try and tackle this.
ReplyDeleteIf you have a moment, please link this up to Creative Juice Thursdays!
<3
nicolette @
http://momnivoresdilemma.blogspot.com/2010/12/creative-juice-thursday-5-features-and.html