Showing posts with label gifts for mom. Show all posts

Wednesday, May 17, 2017

Quick DIY Succulent Mother's Gift

Hello.

For my sweet mother in law (who is one of the sweetest people I have ever met - I am truly fortunate) I wanted an especially sweet Mother's Day gift.

I had found this super cute rooster coffee mug from a local thrift store that perfectly with her decor, a few months ago, and I had planned on making a candle for her - but alas, I could not find my candles making supplies!!! What? Yeah, I must be that dis-organized...

Oh well...

I decided on succulent instead :) A good friend of mine has been creating some super cute arrangements lately and I figured....PERFECT!

I snagged an beautiful aloe plant from Walmart for about $5 and score....perfect for the mug I had on hand. No soil required ;) How about that??


This was really THE perfect fit :) It will go great with her kitchen decor and she loves to garden ;)


I added a sweet little bow and hand made card using my new packing image transfer technique :)


She loved it and I was more than proud to present her with this gift. She provided me with a beautiful man and father for my children :)  She s worth so much more!

Enjoy!

xoxo
Ginger

I will be linking to these awesome linky parties!


Friday, May 12, 2017

DIY Art with Wrapping Paper

Hello.

I had a baby shower for a sweet little baby girl this weekend for a neighbor :) I love baby showers and I love baby shower gift giving! I use coupons, so I was able to score a small stock of diapers, wipes, rice cereal and stage 1 baby food for her :)

Being a mother myself, you ALWAYS NEED more of the essentials :) But its fun to get the cute stuff too.

I decided to make her some cute art for her baby nursery ;) At the Dollar Tree, I saw some gorgeous wrapping papers with lovely floral prints and I snagged several.


Excuse my terrible photo :( lighting right!

Here's what I used:


Various wrapping papers
card stock
glue stick (not pictured)
pencil
scissors
washi tape (not pictured)

I first made a heart template from the card stock. I then measured it to fit a base layer of a pretty patterned wrapping paper. Measure and cut to fit your mat.


Hmm.  Looks like my heart is a bit too big 
(I resized the heart template :)


That's better ;)


Trace and cut your heart shape onto another patterned paper.


Got a little carried away and forgot to take some pics of the next few steps. 
That creative process, ya know ;)

I added another square layer under the heart, secured with the glue stick and then bordered with a pretty peach washi tape.

I then added the flowered heart in the middle as pictured.


I felt the piece needed some bling, so I cut another smaller heart template and decided to cover in a pretty gold patterned washi tape.


I added strips as seen and let the tape over lap the shape of the heart.


Then cut off the access with the scissors.


I added the bling-y heart with the glue stick and then was ready to mat!

I secured the final piece to the back of the frame mat with masking tape.


All done! My neighbor really liked it :)


Enjoy!

xoxo
Ginger

I will be linking to these awesome parties!


Thursday, March 23, 2017

Macrame' Key Chain

Hello.

Today I have a super easy tutorial for an adorable DIY project that can be done in minutes. Check it out ;)


Super cute macrame knot key chain made with love for only a few bucks ;)


Here is what you need to purchase:


I first snagged this 3/16 " soft polyester blend rope at Harbor Freight for $1.99.  The roll is 100 feet - plenty of other projects to come ;)

I then picked up a half inch swivel snap at Home Depot for under $2.

Then you will need these to get started:


two lengths of rope 48" each
two lengths of rope 32" each
the swivel snap
ruler to measure your rope
scissors


First lope the two 48 " ropes through the bottom of the snap in a loop knot. You then make a single square knot like so. You'll be following the exact same tutorial for a square knot as shown here. See pictures below ;)


Make sure to pull firm and you have one square knot. 


Then create another square knot from the other side.


Like so.


Now you have two square knots.

Now we will develop a diamond pattern. Take a 32" section of rope and place under the two ropes on the left hand side. 


Then pull them to the middle.


With this new set of four, continue with a square knot.


I completed two square knots and then copied the pattern on the right hand side.


I then joined the four middle ropes into two sets of square knots - completing the diamond.


This is where I stopped - ensure your final knot is tight.


I then cut the ropes down to the length I wanted and pulled apart the plies into some pretty fringe.


Once done, clip to your bag or purse. Add to your key-chains or hang from the rear view mirror ;)


Enjoy!

xoxo
Ginger

I will be linking up to these awesome parties!

Tuesday, March 7, 2017

DIY Candle Making

Hello.

In keeping with this candle theme this week, I wanted to share a DIY candle making tutorial. This is super fun and easy to do. I used to kinda be intimidated by candle making but it truly is not.

As you know, I am a very frugal person. I want pretty decor candles in my home, but I don't want to spend a ton of money.

I tried just shopping for candles only at Walmart or The Dollar Tree, where the price is right, but they are boring.

I finally had the light bulb moment, knowing that if I learned candle making I could literally make a candle out of any sensible vessel. As long as it sits firmly level and is not flammable, you can make it into a candle ;)

Today, I made this lovely yellow candle ;) and I absolutely loved how it turned out.


Its always fun to come across cute vintage mugs, or small pots signed by the artist!


And come Christmas time, I make several gifts from thrifted vintage Christmas mugs :)


Here is what you need:

a vintage mug - I used this cute retro 80's one
couple of empty metal cans - I used a smaller cat food can for the color wax
crayons
popsicle stick
essential oil
metal tongs


Start by removing the paper from the crayons. I chose yellow to compliment the black design on the mug. 

To remove them easier, carefully cut a knife to cut and peel, like you would an orange.


Then pour the soy wax into the mug and pack it down to measure how much you'll need to start off with. Then pour it into the larger can. Then fill your mug again with wax about half full and set aside.


The measure your wick adding about 2 extra inches. String the wick through the anchor and cut. Secure the anchor to the bottom of the mug with a little pre-melted wax so it doesn't move around.


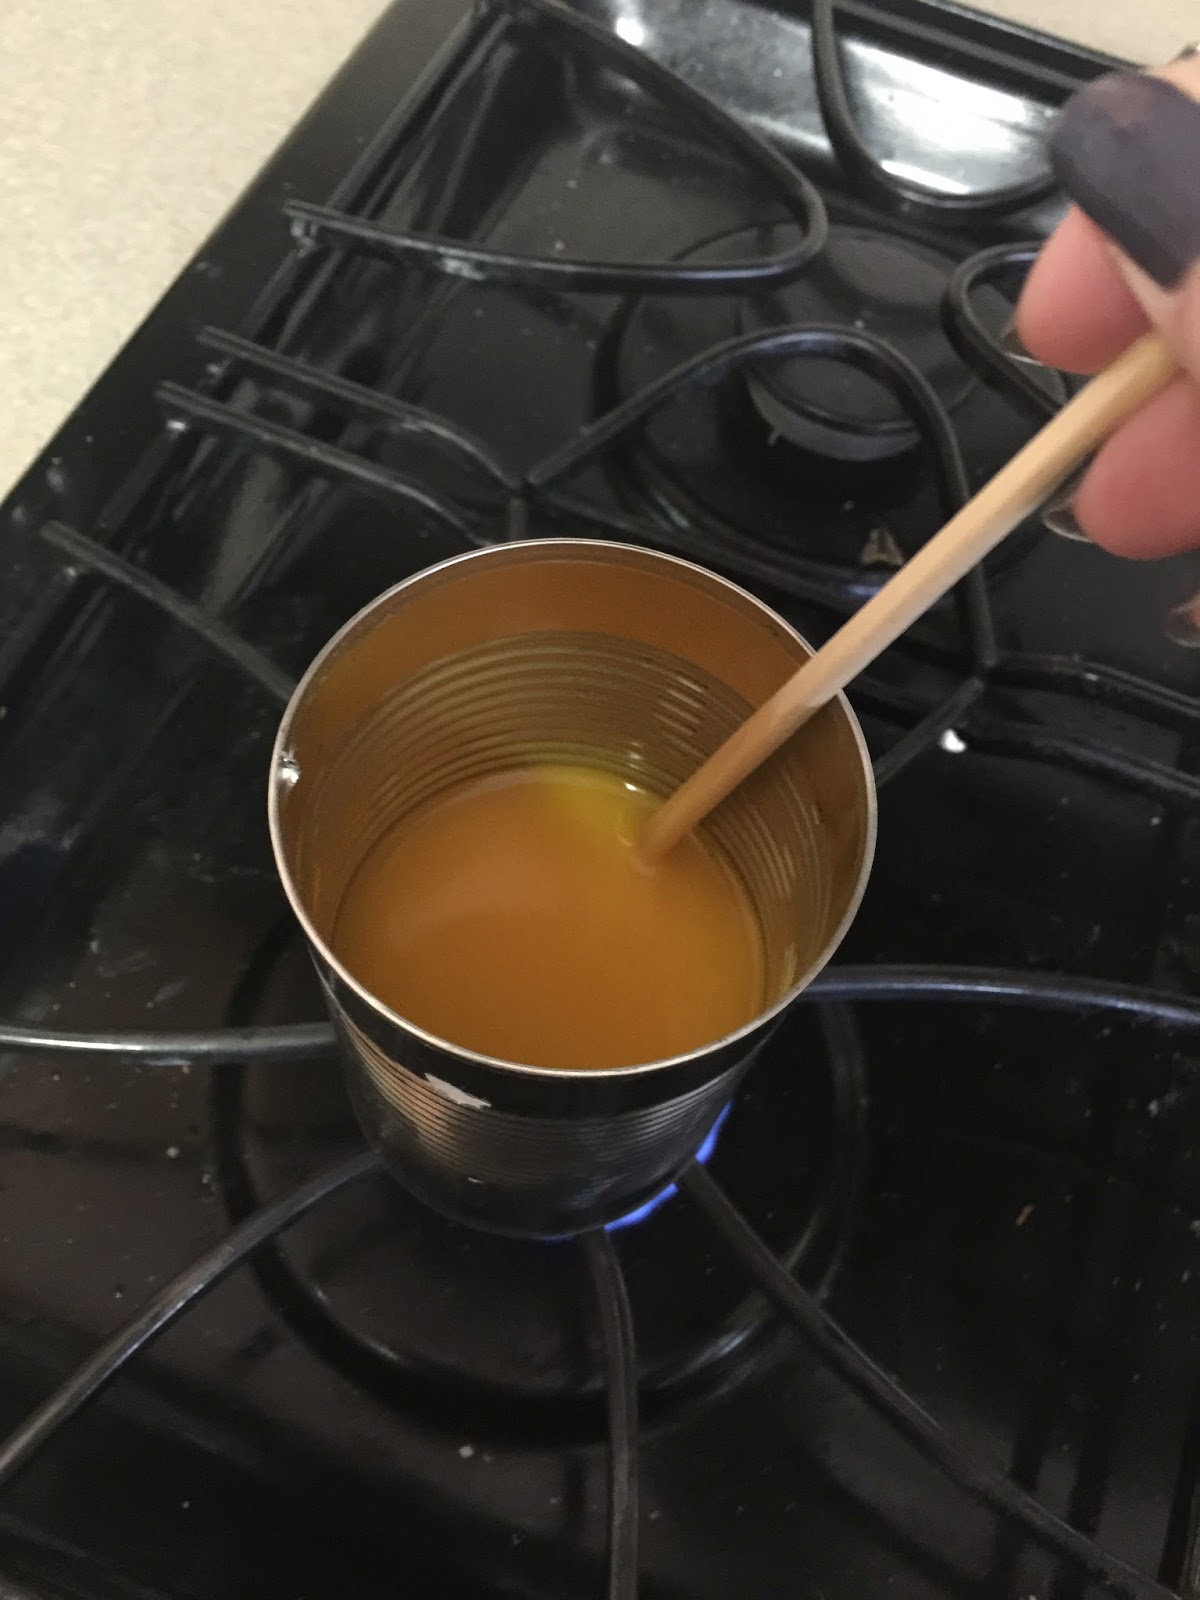
Then place the can of wax onto the stove to melt over low heat as you stir with popsicle stick. As it melts, add the remaining wax you set aside. Then add about 10 drops of your essential oil.


I chose Nature's Truth Thrive Essential oil from Walgreen's Pharmacy. Lovely invigorating scent :)


At this time, melt the crayons in the smaller can. I wasn't paying attention and poured into the big can with the plain wax. It's better to melt each color in separate cans so residual wax colors don't show up in future candles.

Stir well.


Then using the tongs, very carefully pour the hot, melted wax into the mug, stopping about a quarter inch from the top. Seriously. It is lava hot. Be careful. 

Place the stick under the wick to keep it centered. Carefully move the candle where it won't get bumped and let set for 2 hours.


Then trim the wick, light and enjoy!


Now that you can make your own candle, you can refill your pretty decorative candles over and over when they burn down.


Enjoy.

xoxo
Ginger

Linking to these parties.
Related Posts with Thumbnails