Showing posts with label Tutorials. Show all posts

Saturday, May 20, 2017

DIY Nail Polish Remover Image Transfer

Hello.

So I've been experimenting with image transfers lately as you saw here. It's a really cool way to add detail to paintings, journals and more. I think they also add cool texture and finishes to pieces :)

Plus, they are so simple to do. There are several different ways to do image transfers, but I like ones that are easy with supplies I already have on hand ;) And I present, nail polish remover transfers!

Here is what you'll need:

ink jet, black and white copy image
acetone nail polish remover
cotton balls
paper
burnishing tool (I used a capped pen)

Let's talk copy image for a sec ;)


You must you an ink jet copy image, NOT a laser print image. I chose this sweet, beach-y image :)

As for the polish remover, it must contain acetone for this project to work. Check the ingredients label on the back if unsure about your own polish remover. I picked up this at the Dollar Tree.


Now let's talk paper, I tried this on several papers and it really doesn't matter. As long as you are not soaking the transfer with the polish remover, you'll be fine. Too much remover and you'll risk tearing your piece.

First, lay your image face down onto your paper of choice.


With a dampened cotton ball, rub the remover evenly across the back of the image.Hold tight to make sure your image doesn't move around on ya ;)


See I used a little too much on this one :(


Burnish the back to really adhere the ink to the surface of your final paper.


Gently peel the image off. You can see here where I burnished too much in the middle and not enough around the edges.

I just rubbed the stuck image paper off with my finger.


And here is the final product.


Not bad for a practice piece. It has a cool look to it. Like an old worn out photograph.

Here are some additional ones I made. I tested the process out of different papers colors and weights.


Enjoy!

xoxo
Ginger

I will be linking to these awesome parties!

Thursday, May 18, 2017

Embroidery Cord Binded Art Journals

Hello.

So I thing my few readers out there know I love to create art journals :) And do you know what? It's a great creative booster for artists and they are fun to fill up with doodles and scribbles ;)

So I made yet another quick journal and bound this one with red embroidery cord :) I'm really pleased with the way it turned out :)

Here's what you'll need for your journal:


a few pieces of paper
acrylic paint
embroidery cord
embroidery needle
scissors
pencil (optional)
ruler (optional)

Let's talk paper for a sec ;) I prefer a good mixed media paper. 


For this project, I chose acid free, 98 lb paper as it would hold up to paints but is also thin enough to punch the embroidery needle through the paper. I picked up this paper at Walmart, but it's available at Hobby Lobby as well as Amazon. However, you could use a heavy weight water color paper or even regular office paper with yarn if this is a project with the kiddo's.

First, I cut two sheets of the media paper into three equal pieces, short ways. Use a ruler and/or pencil if needed.

Although yellow paint is pictured above, I wanted to start with some "palette smashes" for inner content of my journal. I then took left over paint from a palette (which is a magazine page)...


And I "smashed" the journal pages into the paint and let dry :)


You get some beautiful mixtures of colors, shapes, movement..even texture with ripples of paint.


Here is where the yellow came in :)


I then stacked them and folded in half longways. This creates the "book" shape. 


Like so...


Once all put together, grab the embroidery needle and tread.


Sew your journal pages together and the middle seem and secure with simple knots.


I used a simple slip stitch to bind the journal. But you could try and get more creative ;)


Then close off with knots ;)


And you've completed your journal ;) 


And something fun to the front cover!


Looks so cute and ready for art entries!!


Enjoy!

xoxo
Ginger


I ill be linking to these awesome parties!

Tuesday, May 16, 2017

Packing Tape Image Transfers

Hello.

So I recently cane across an online class that taught several different modes of image transfer!

I used to think that image transfer was a lengthy and pricey process, requiring several ingredients that I did not already have on hand.

However, that is not the case! I was very exited to learn I can make some gorgeous and very detailed image transfers using only clear packing tape!!!

Now this works best with laser print printers and magazine cut outs. Ink jet printers may present a problem ;)

So I stuck with the two recommended types. And I will tell you.... this process captures color BEAUTIFULLY!  And it is so easy :) you'll be dying to try this DIY project!

Here is what you need to get started:


I started with a palette smash little canvass but paper works well too ;)
clear packing tape
an image (magazine or ink jet printer)
bone folder or spoon or anything really to brazen the image (not pictured)
scissors (not pictured)
bowl of warm water (not pictured)
glue stick

This process is so incredibly fun and easy, you'll be adding to all your journaling and collage projects!

First, select an image. I chose to print a black and white image from the web. Again, magazines work really well for this project.

Place and adhere a strip of clear packing tape over the image.


Burnish well with a spoon or bone folder. In this case, I used a sharpie cap. Worked just fine ;)


This will really work the ink into the tape and ensure a solid image transfer.


I couldn't get pictures of this next step, but place the tape-covered image in the bowl of warm water and gently rub the paper away with you thumbs. It sluffs off easily and you should have no trouble in this step. What you'll have left is the piece pf tape with the image - clear as day :)


Once dry, the tape will still be somewhat sticky, but adhering with the glue stick (or adding a layer on Modge Podge) will keep your transfer in place :)


This process works very well with black and white images as well as color! I had no trouble filling this small practice canvass :) You'll see I made an additional transfer of a magazine page with a water pattern on it :)

I added a sweet little "XOXO" ink stamp and called it done ;)


Enjoy!

xoxo
Ginger

I will be linking to these awesome parties!!

Friday, May 12, 2017

DIY Art with Wrapping Paper

Hello.

I had a baby shower for a sweet little baby girl this weekend for a neighbor :) I love baby showers and I love baby shower gift giving! I use coupons, so I was able to score a small stock of diapers, wipes, rice cereal and stage 1 baby food for her :)

Being a mother myself, you ALWAYS NEED more of the essentials :) But its fun to get the cute stuff too.

I decided to make her some cute art for her baby nursery ;) At the Dollar Tree, I saw some gorgeous wrapping papers with lovely floral prints and I snagged several.


Excuse my terrible photo :( lighting right!

Here's what I used:


Various wrapping papers
card stock
glue stick (not pictured)
pencil
scissors
washi tape (not pictured)

I first made a heart template from the card stock. I then measured it to fit a base layer of a pretty patterned wrapping paper. Measure and cut to fit your mat.


Hmm.  Looks like my heart is a bit too big 
(I resized the heart template :)


That's better ;)


Trace and cut your heart shape onto another patterned paper.


Got a little carried away and forgot to take some pics of the next few steps. 
That creative process, ya know ;)

I added another square layer under the heart, secured with the glue stick and then bordered with a pretty peach washi tape.

I then added the flowered heart in the middle as pictured.


I felt the piece needed some bling, so I cut another smaller heart template and decided to cover in a pretty gold patterned washi tape.


I added strips as seen and let the tape over lap the shape of the heart.


Then cut off the access with the scissors.


I added the bling-y heart with the glue stick and then was ready to mat!

I secured the final piece to the back of the frame mat with masking tape.


All done! My neighbor really liked it :)


Enjoy!

xoxo
Ginger

I will be linking to these awesome parties!


Wednesday, April 19, 2017

DIY Cat Cave

Hello.

I think I've mentioned before that I tend to spoil my cats :) I'm always thinking of new toys for them and giving the occasional canned food as a treat.

Here's Oliver looking all majestic in the studio ;)


Today I got a package from Amazon and it came in a pretty big box. And I'm thinking.... what can I do with that? Bingo. Cat cave!

Here's what you need:

Big cardboard box
contact paper
clear packing tape
utility knife
scissors
white craft paint 
paint brush
white cotton rope ( I had some left over from this project)
marker
glue gun
left over carpet piece (I had a piece left over from my cat tree)

Let's get started!

First, draw an arch to cut that will be the opening.


Once cut, tape the box closed with clear packing tape.


Reinforce the other side with tape.
Watch your cat climb in your project LOL!


Cut some contact paper to size and attached to the sides of the box. Cut the corners at 45 degree angles and fold in.


Note: I reinforced the edges of the contact paper with clear packing tape to make sure they wouldn't come up.

Once all the sides except for the opening are covered, grab your paint and brush and add a first coat.
Let dry.


Then add second coat and let dry.


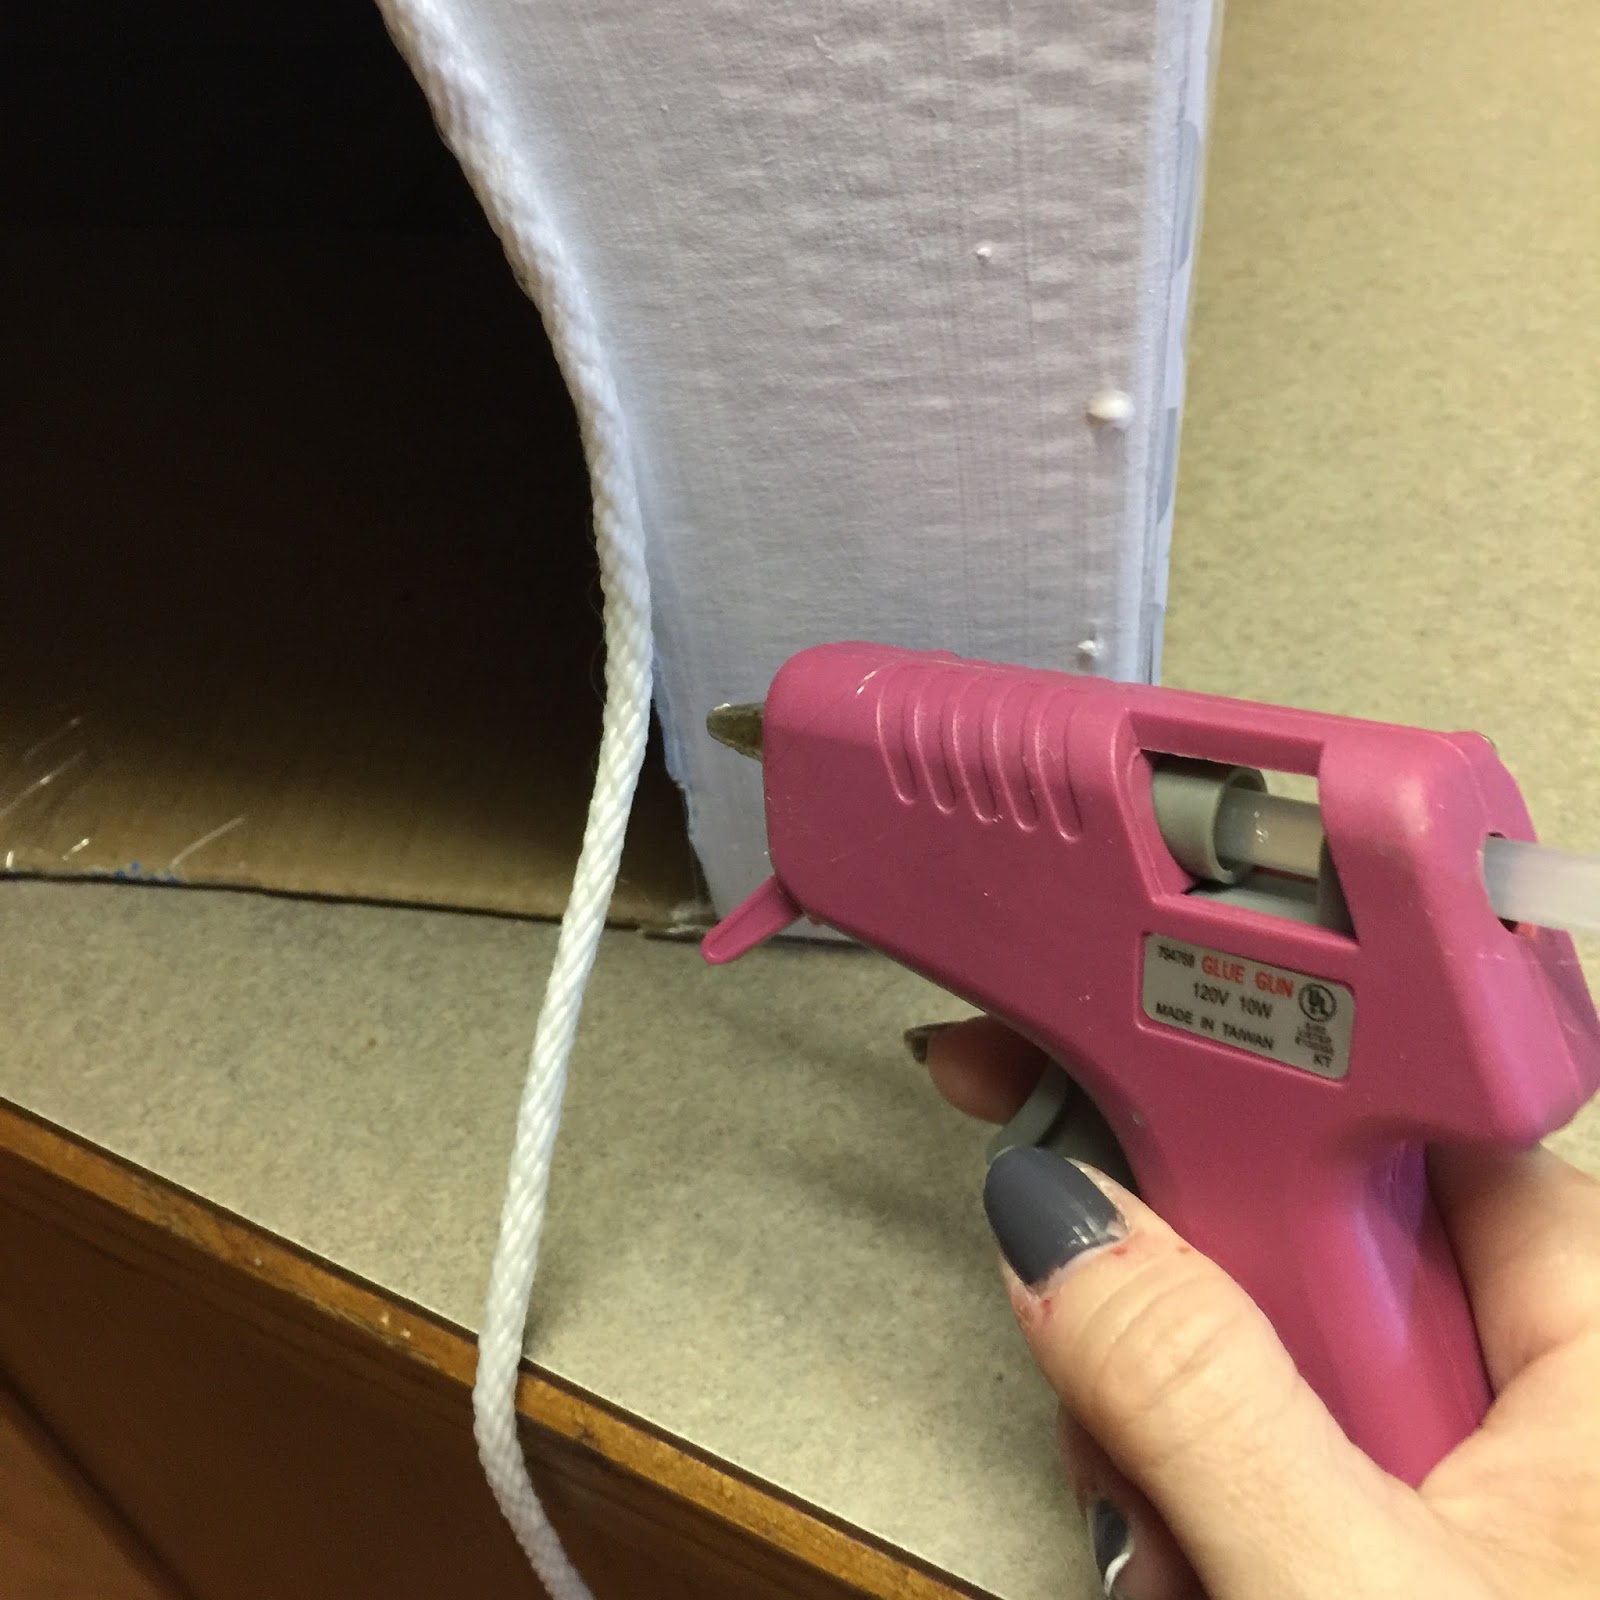
Once dry, plug in the glue gun and hot glue the carpet piece to the top of the cat cave.


Lastly, hot glue some cotton rope around the opening.


Then add a little catnip as well as an old towel and watch the kitties explore!


I think they like it :)

Enjoy!

xoxo
Ginger

I will be linking up to these awesome parties!


Related Posts with Thumbnails