Showing posts with label cheap thrills. Show all posts

Tuesday, July 12, 2011

Spelunking in the Living Room!

Have a giant box?

Go cave exploring then!
 Grab your flashlight and explore for "buried treasure"!

This fun idea from my kid's teacher.  Way to go Miss Weeks!

xoxo
Ginger

Tuesday, May 31, 2011

DIY Backyard Oasis

So I have been planning a backyard renovation for sometime now...there is an area in our yard that NO grass would grow...nothing but dust!  And our dogs and any breeze would just stir it all up and my porch was constantly COVERED in dirt!

I mean, I never wanted to be out there because I'd be disgusted by the way it looked! Which in turn meant my kids could never play outside.

Well, I had had ENOUGH!  And I planned a beautiful patio garden on a budget.
A $200 budget.

And here it is...
 We had a great time and I REALLY REALLY LOVE IT!!!
It really is an oasis to sit around the flowers with the candles going and watch the kiddo's play in the backyard.  

Plus, it was super cheap and we did it all in 2 days!


First, you start out with a few land scape timbers.  You could use any kind of border you want, but we snagged these suckers for free so that's what we went with.  We got a few 8" nails, pre-drilled the holes and staked them to the ground to keep em from rolling around.

So plan where you want it and how big you want it and pull up the turf (or in our case, lack there of).  Then level the ground.  We went the extra mile and really loosened the dirt to make it easy to level the stones, that way we could save a little $$$ and not have to buy bags of leveling sand.

Then, place your stones.  We made it easy on ourselves and used a 2x4 to space them.  No measuring!  So laying them down was super quick.  We used 1x1 concrete pavers in the "sand stone color".  Not the most glamorous choice in stone, but economical at $1.27 a piece.  We did 40 pavers in 5 rows of eight.
I used some chairs I already had and used it to make sure everything was level.

The mulch was the only thing I splurged on...I wanted cedar.

I then planned where I wanted the flowers.  When you go to get flowers...check out the sales!  There are usually good sales on annuals at the beginning of the season.  


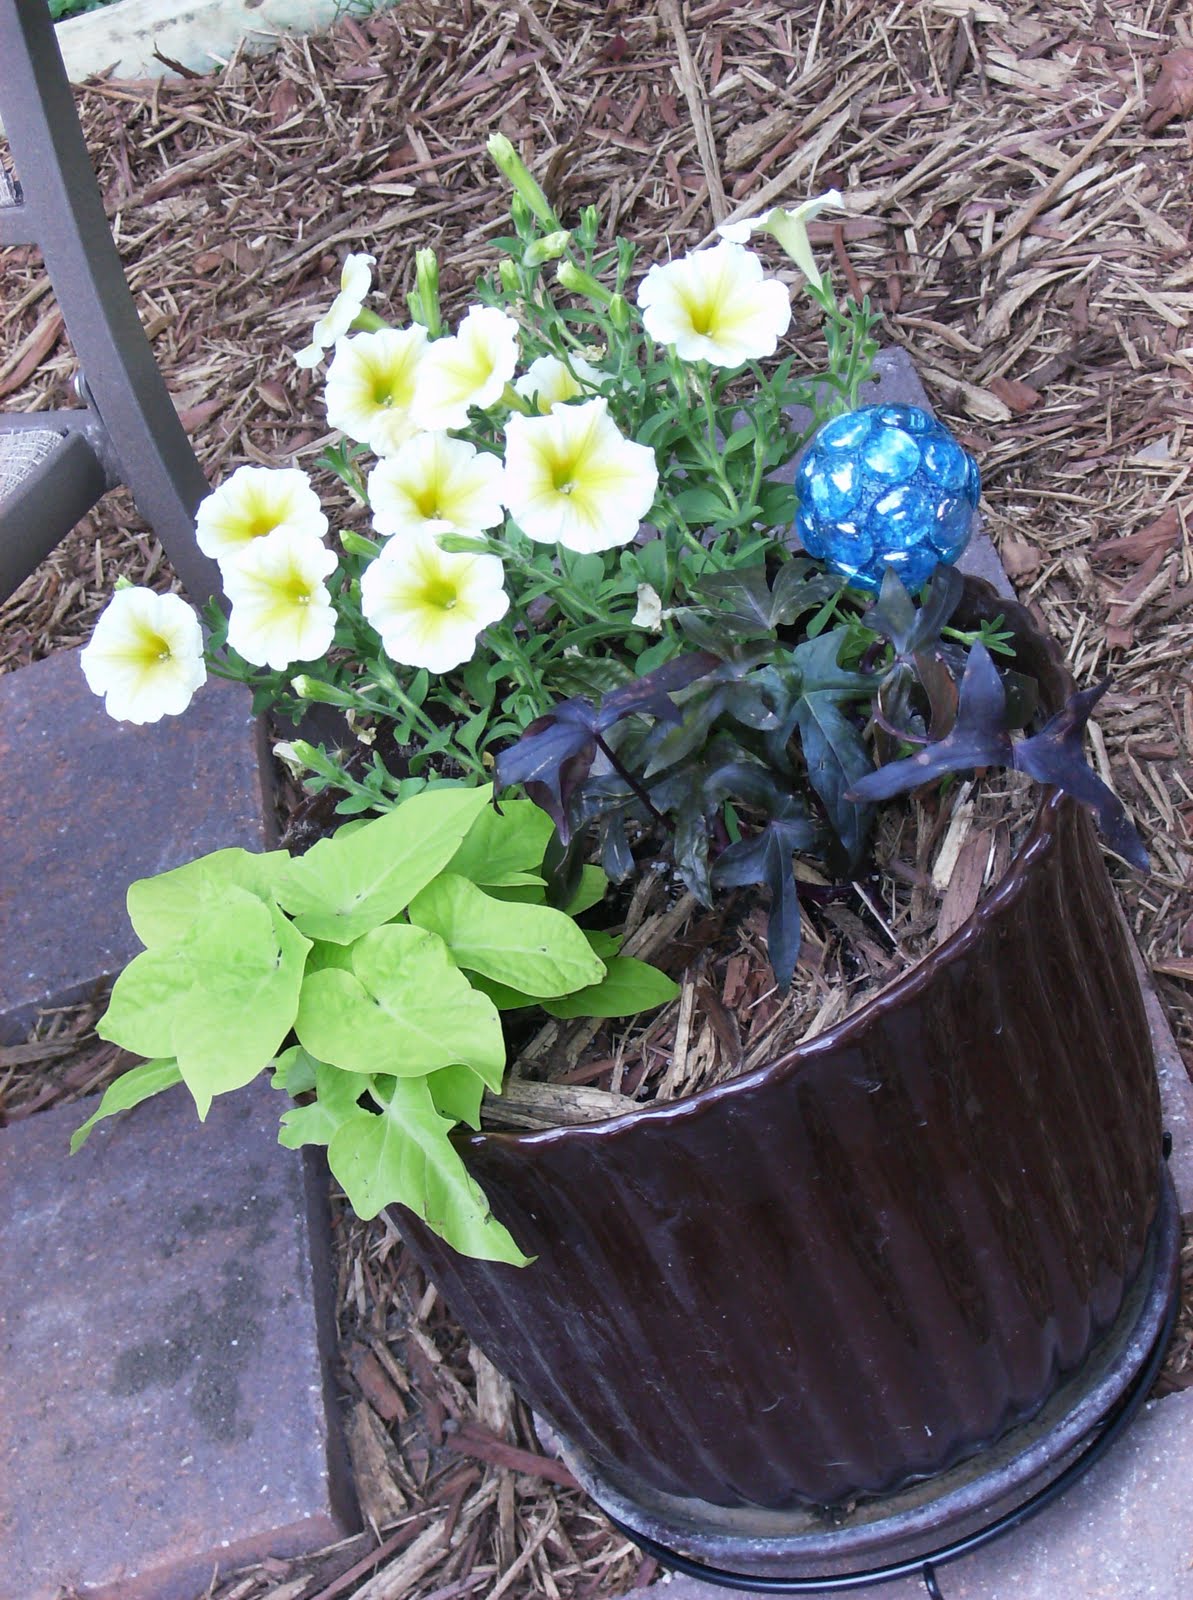
I also went super cheap on pots.  I wanted ceramic (I already had one), but hey plastic will do.  I snagged a bunch at the Dollar Tree, some in that horrible, fake terra cotta color.  No problem, I spray painted them green. I filled in the corners of the garden with flowers as well.


Then, to spruce it up even more, I did some DIY garden spheres from my decor ball tut.
Just spray paint a dowel rod and you know the rest.  I LOVE how they turned out!  I plan on making more...

I added some things I already had on hand such as some plant stands, the chairs and the fire pit and I got a backyard oasis...and the grand total with tax for everything from the glass beads and Styrofoam balls to the cedar mulch and pavers was only $189.85.


I plan on adding more and more flowers a little at a time, as well as a few more pavers leading to the gate.  But the next big step for the garden will be a DIY pergola!

xoxo
Ginger


Thursday, May 26, 2011

Recycle and Upcycle your Recyclables!

Huh?  That's right...recycle your recyclables into vases or candle holders!


Make a beautiful vase or candle holder with your glass recyclable jars.

First, clean the gook off the sides from the labels.

Now they stand pretty...

Get you an assortment of glass decor beads and warm up your hot glue gun.
Then, just start gluing away...or do a pattern?

All done?  Dress it up even more by wrapping ribbon or jute around the opening.

Place a candle and have a custom candle holder or use as a vase.  
Either way, its a win, win!

Enjoy!

xoxo
Ginger

Tuesday, May 24, 2011

Red and Toile'n!

So remember my mommy's Mothers Day Gift?
Well, turns out mom is super picky has a keen design taste and would absolutely love to see a shadow box with red silver ware in it.

And why not?


I got another little wooden tray and some silver ware from...you guessed it, the Dollar Tree.

I spray painted a spoon and fork red and let dry.  I also spray painted the tray the same light coat of off-white and let dry.

Once dry, I then did the same technique in applying the toile contact paper to the inside of the box, hot glued my silverware into place and glued some jute around the edge and ta da!

 Love it!

xoxo
Ginger

Tuesday, May 3, 2011

Spring-y Green Cross

I enjoyed my Ivory Squirrel so much that I decided to do a similar project! 
Again...in stocking up for new decor things for my soon-to-be-redone kitchen, I snagged this pretty cross from the Dollar Tree...


Not too bad as is.  Good color and I loved the scroll detail in the center, but not a fan of the gold trim.  Plus, I already have some other ivory details going into the kitchen.

So I picked up a can of Krylon "Ivy Leaf"
(sorry a little fuzzy)

And now...

Love this color!  And I love spray paint...

xoxo
Ginger

I'm linking at these awesome parties!

Tuesday, March 22, 2011

Trash to Treasure Dresser

So we were on the way home the other night and were passing a garage sale where I pleaded like a blubbering fool for my husband to turn around and go back so I could "just take a quick peek".

Of course, I saw this and fell in love.
This horribly sad, mistreated dresser with a poor and insulting coat of black spray paint covering the front.  I saw potential...plus we were is desperate need of a low dresser (Sam is starting to try and climb on everything).  And it would nice to own one with drawers that opened and closed properly, like they're supposed to.

So I asked the dude how much...and...$20.  SOLD!
I gave my husband the good news that we were now the proud owners of this puppy and would now have to figure out a way to get it home.  After much maneuvering, we managed to get it in the van and later in the garage.

Here's shot of some of the damage.
Also some paneling coming off the sides.  So sad.

Anyhoo, I nailed the siding down and began sanding some of the spray paint off.
I then gave a base coat of white (which I didn't take a pic of..we've all seen white.)
Let dry and plant some flowers.
Come back and layer 3 coats of a beautiful butter-creme yellow...which, I'll add was FREE.  Leftover paint from my sons nursery.


A great addition to the playroom for only $20!
I hopefully will be finishing up the playroom here in the next couple of weeks, depending on whether I got the funds or not!  I'll take a pic of it in the room when I get done.

Ginger
SSB

I'm linking to these parties!

Tuesday, January 25, 2011

Dress Rescue Part No. 2

So you saw my first dress rescue...I have one more...but it was a little trickier.

And I loved how it turned out!
The white ruffled part was already on there, but again...this dress had a REALLY low neckline.
(about an inch of my bra cup was showing on each side!!  And I wasn't gonna post a pic of it.)

But I couldn't rescue this one like my other three dresses.  Hmmm...what to do?
I decided to alter the sleeves and pull it in about an inch in the shoulders to bring up the front.

By turning the dress inside out, I pinched the back and front necklines together and stitched a new shoulder seam (starting an inch down...tapering up to the corner seam for the shoulder).

The result is full coverage in the front :) and...a cute little capped sleeve!

There were belt loops on the sides...but no belt.  No biggie...I had one that would work and with my altering, the waist line was shifted anyways.  I snipped em off and here is the new waist line with a smart black belt.
Yippee!  I'm wearing it to work tomorrow!

Ginger
SSB

I'm linking to these great parties!

Friday, January 21, 2011

Carpet Sample Area Rug

So what else can you do with a bunch of carpet samples...?
Sunny over at Life In Rehab had a good idea.

Duck tape (is it duct or duck...?) the bottoms together and I have an awesome new area rug.
Eek!!!  I love it!

I just snagged some more of those carpet samples, laid out my color design like a giant puzzle and taped it all together.

Close up.

Even Turkish the dog martian likes it.

Beautiful!
A quick and easy area rug!  Yippee!

Ginger

Thursday, January 20, 2011

What Can You Do With Carpet Samples?

So if you are me...
what do you do when the carpet place next to your office tosses a bunch of these...?


Why you steal snag a bunch...


And now you have lovely new bathroom mats!


For FREE!!!  
I think I'm gonna snag a few more for the front and back door!  :)

Ginger
SSB

Saturday, January 15, 2011

Thrift Store Dresses Rescued

So I went thrifting with my mother the other day and snagged three beautiful dresses!
Great price, great colors, fabric and the cuts fit me perfectly!


The only draw back was that all three of them had incredibly PLUNGING necklines.
And I'm pretty modest, so I came up with a quick way to rescue these dresses.
I've actually seen this in a few places like here.

So, I took an old shirt that doesn't fit well and that I'll never wear again and cut a few triangles shapes out of it.

I gauged the size based on the neckline of the dress.  Just eyeball it, and go a little bigger because you can always trim excess off.


I sewed the triangle into the neckline with coordinating thread and there you go.

Ohhh...I LOVE these dresses now.  Perfect fit and now appropriate for work and church.
Great for out and about with family or out to a nice dinner!  Enjoy!

Ginger

Friday, January 7, 2011

10 Minute Kitchen...for FREE!

So Jackie was talking tonight about cooking a "big dinner" and a little play kitchen is something I've wanted to get the boys for awhile, but just never got around to it.

I've seen a lot of DIY kitchens online and have wanted to tackle a few.  Like this one.
But I'm a little intimidated.  Trying to turn an old dresser into a play kitchen...?  Nope.

But I heard about bin kitchens and have seen a few around bloggy land like this one.
I thought I could do that!  And I did.

I took the easy way out and pulled this puppy together for free in under 10 minutes...probably sooner if Jack would've stopped bugging me.

I already had an empty bin not in use.  I traced some circles out of construction paper and cut em out.  Four big ones for the burners, four small ones for the top knobs and 4 more small ones for the front knobs.
Then taped em all down with clear packing tape.  All done!

The hard part was figuring out what I could do without in my kitchen, so Jackie would have some stuff to cook in his kitchen.  

So even though this is a free project so far, I think we'll be heading up to the local thrift store this weekend to find some inexpensive cookware for the budding chef!

Enjoy!

Ginger
SSB

Tuesday, November 30, 2010

Quick and Easy Christmas Ornaments!!!

I LOVE getting Christmas ornaments as a gift!  
Getting one as an ornament is special because I remember the person that gave it to me every year when decorating the tree.  Some on my tree I've had for years!

I also LOVE giving Christmas ornaments as gifts!  
DIY ornaments are heart-felt and fun.  They are usually easy to make in bulk to give to family, friends or co-workers.  And it's sure to be something used every year instead of some random gift that might end up at the top of the closet...

And best of all...DIY ornaments can be VERY easy on the wallet which is definitely a relief during a busy and budget-minded season.

Here is a true favorite that everyone appreciates.  Great for family (grandmothers adore them) and friends! And very simple to make!  Kids can have fun making them for mom and dad!
Here's a shot of Jack's hand print...
His hand print was placed on the bottom of the bulb, his name on one side, and the year on the other.
I have used red bulbs (that's what I call these type of ornaments if anyone is confused :) but found it was kinda hard to see...especially the name so I switched to white bulbs, green/red paint, and a black sharpie.  A box of 24 count white glass bulb ornaments is less than $5 at most stores.  The paint and marker I had on hand.

DIY ornaments make great party favors too!  My cousin had her wedding a week before Christmas and these were her reception favors!  
 On the other side is the wedding date.
She had a huge Christmas tree at her reception covered in these cute bells and used red ribbon as garland!  I've found similar ornaments the $1 store!

"Heart-made", simple gifts that everyone loves!  Enjoy!

Ginger
SSB

I'm linking:

Anything Related at All Thingz Related
Related Posts with Thumbnails