Showing posts with label weaving. Show all posts

Friday, March 31, 2017

Mini Weaving from my Mini Loom

Hello.

So I shared and built a DIY Mini Loom. Very easy little project that is portable and you can weave on the go!

I decided to try it out tonight and I must say the size is conducive for quick works. However, I think fringe should be eliminated on such small works and you can focus on stitching.


Very easy to start, watch a few episodes of your fav show on Hulu and be on your merry weaving way!


Just remember.... when the yarn strays, the cat will play. ;)


Two episodes of The Voice later and I was done with this cute little addition to a baby girls room :)


Enjoy!

xoxo
Ginger

I will be linking to these awesome parties!


Wednesday, March 29, 2017

Build Your Own Mini Loom

Hello.

So weaving has become one of my new favorites crafts to do. It is so easy and relaxing! Just put in your ear buds and go to town :)

I decided to make my own mini loom to take with me while traveling. After all, I crochet on the plane, why not weave? It's so simple, I know you all can build one and before you know it, you'll be weaving like crazy.


Here is what you need to get started:


5 x 7 inch stretched canvas
hammer
nails
yarn
pen and scissors (not pictured)

Lets talk about the nails quickly. You will need nails with a flat head. Finishing nails are not a good idea. At least 1 inch long is preferred.


Turn your canvas over and you'll see how it is stretched and stapled in the back. 


Start by ripping the canvas off the canvas frame. You could use a flat head screw driver or pliers to take the staples out but it's pretty easy to just rip it.


Then you are left with a perfect wooden frame. You could build your own frame for custom or large scale looms, but this works great for now ;)


Then, using your ruler, measure 1/4 inch from the inside of the frame. Make a mark using the pen.


From that 1/4 inch pen mark, then mark every 1/2 inches.


From each pen mark, draw a line down at 1/4 length.


Then, starting from the end line, measure 1/4 inch in and mark with the pen. You'll then mark every 1/2 inch as before and draw a 1/4 length line as before.

You will now have warp points staggered at every quarter inch. I like to mark the ends of the lines with X's as that is where we will hammer the nails in.


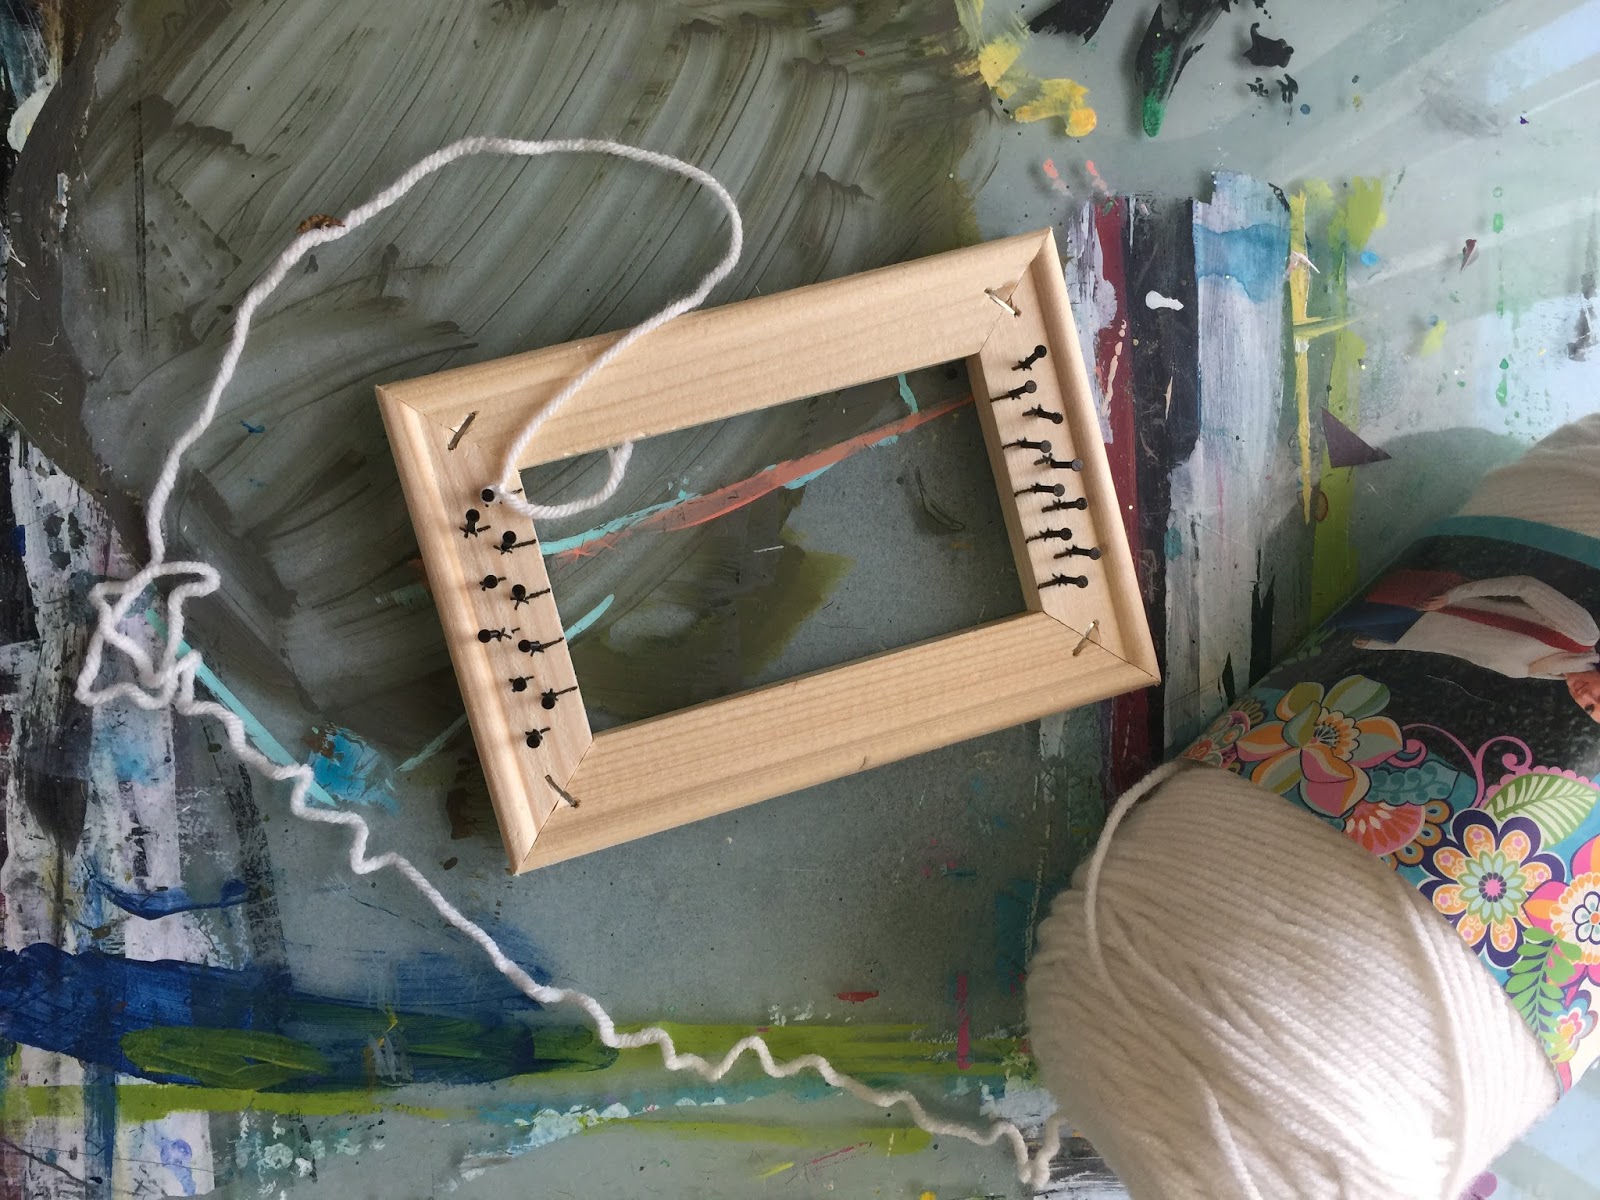
Like this. The nails do not have to be straight or perfect; you mainly want the point of the nail dead on your X for an evenly space warp thread.


We'll then start warping the loom. Tie the yarn at one end nail in a tight double knot. I just used plain white yarn here as the warp threads don't show very much.


Then begin warping the loom going in an "over and under" fashion. Remember, you don't want them super tight - just tight enough to bounce back when you press down on the warp threads.


When you get to the end nail, carefully make a tight double knot. 
You can trim the long tail if you want.


Now you are ready to weave! I even found some mini dowels at the Dollar Tree that will fit this loom perfectly :) All you need now is some pretty yarn and a yarn needle.


Feel free to check out my DIY post of weaving here that includes an online class on beginner weaving. 

Enjoy!

xoxo
Ginger

I will be linking up to these awesome parties!

Tuesday, March 21, 2017

Finished Weaving

 Hello.

I've been very excited to share my weaving process with you in various posts. You can see when I first began this weaving after I built my DIY loom. You've then been with me during the process as I was eager to share my progress here and here!

What kick started this project was I happened upon an online class with a tutorial on building the loom as well as getting started on my first weaving. I was so excited to get started :)

And while it is a spectacular online class, I'll likely be creating and sharing my own tutorial with my readers here :)

And here are some pictures of the final weaving :)


I have to say was I kind of scared to take it of the loom!


But everything turned out ok and I am very pleased with my first practice piece :)

I already have my loom warped with new yarn and ready to go! I'll be taking readers step by step on weaving threads, learning new stitches and experimenting with new materials :)


I hope you all enjoyed this project as much as I did!


xoxo
Ginger

Friday, March 17, 2017

Weaving progress

Hello.

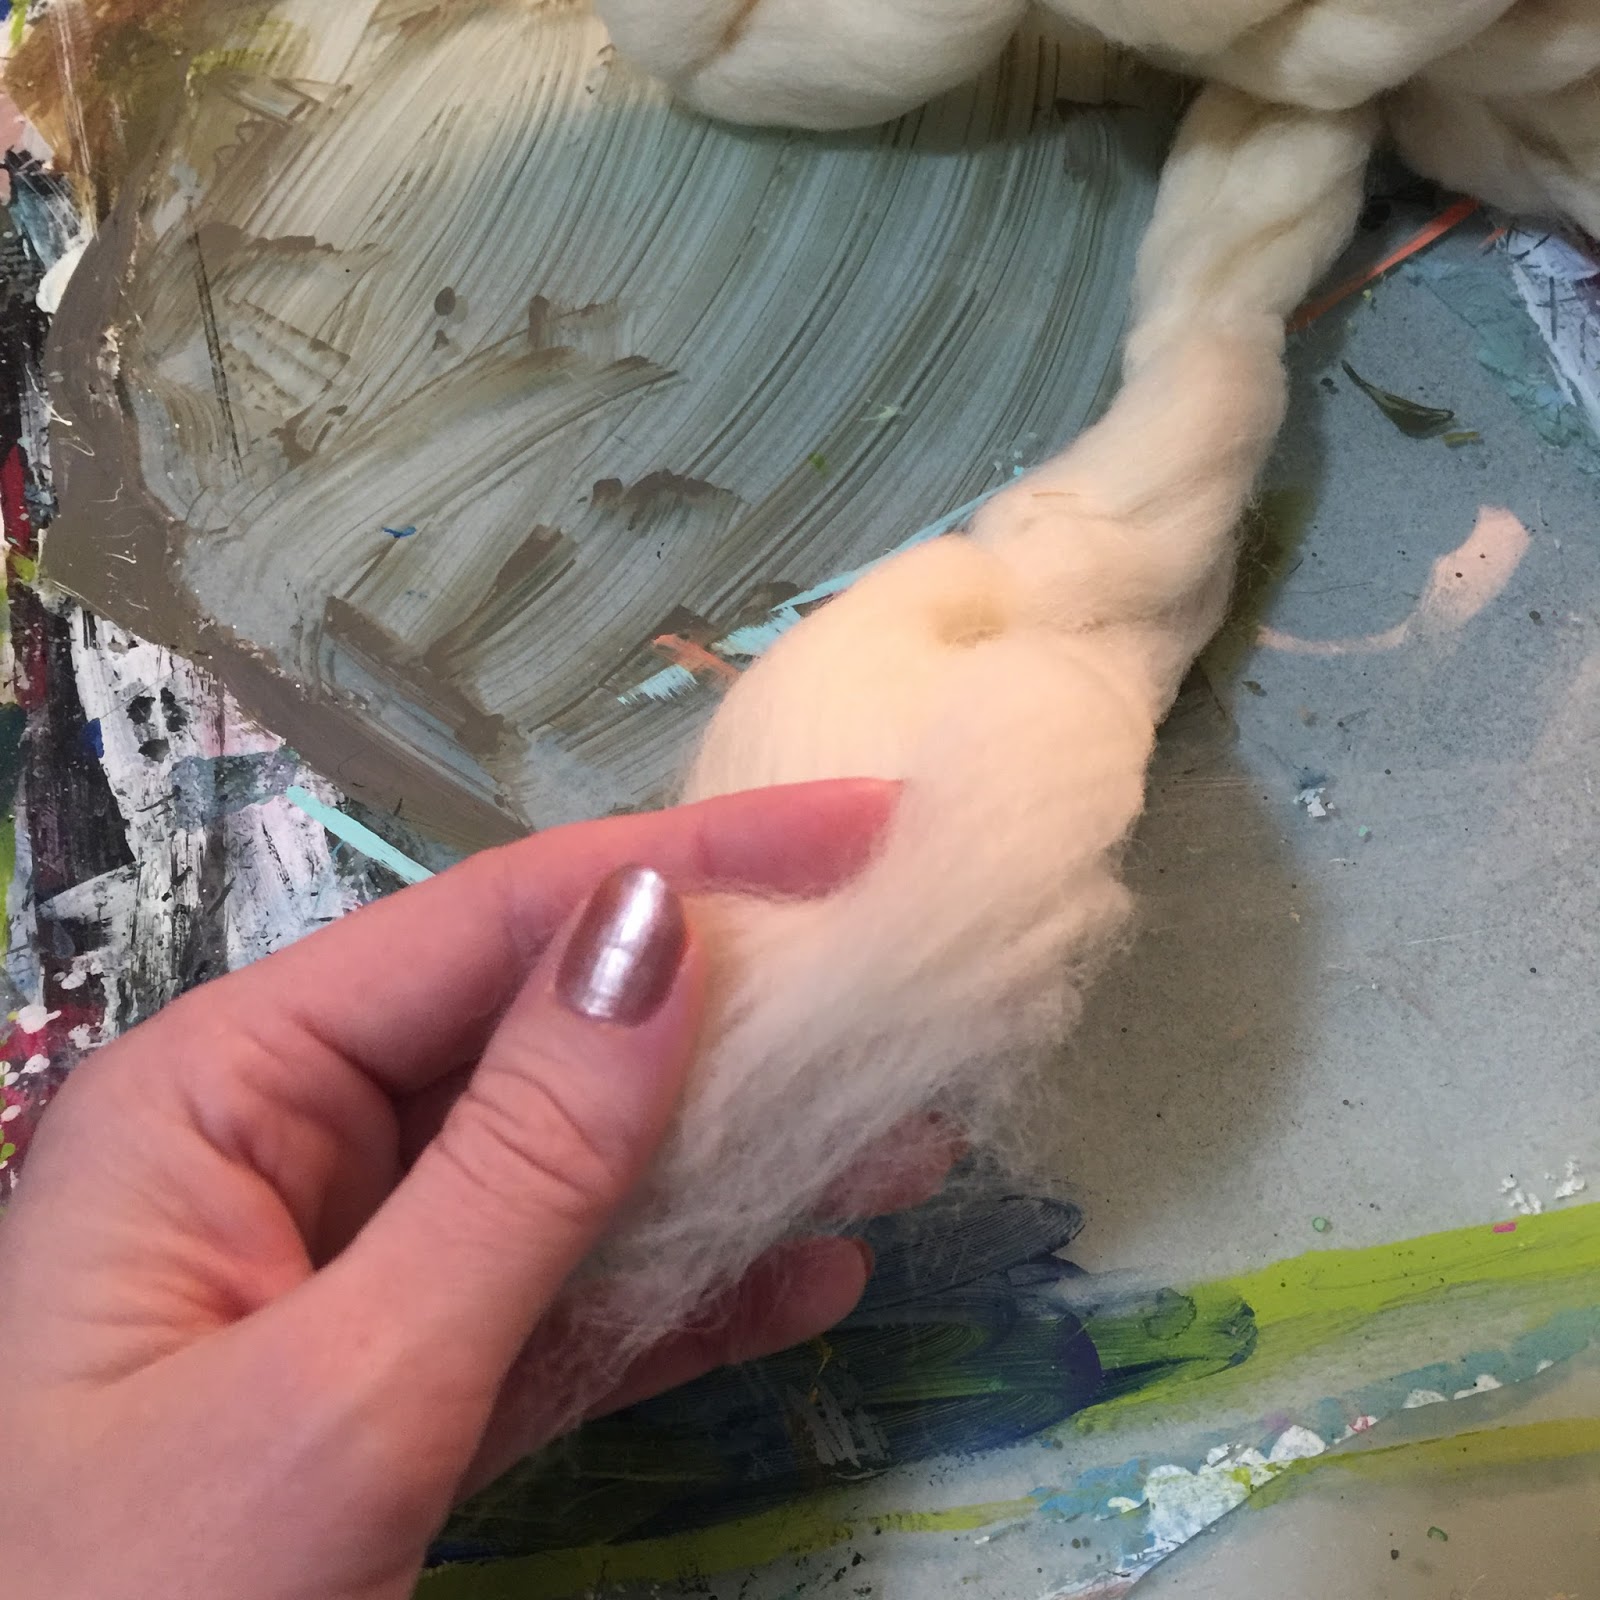
So I took a short break from my little weaving as I wanted to include a type of wool called roving. It adds beautiful texture to a weaving! However, my local Hobby Lobby didn't have any so I ordered some from Amazon :)


Very soft and fluffy - it creates a cloudy texture on a weaving ;)


Here is my current process on my first weaving.


You can definitely see how the roving looks on the weaving, creating beautiful movement and texture :) It is very simple to weave and looks so sweet. I followed this online class.

Enjoy!

xoxo
Ginger

Friday, March 3, 2017

Progress on my weaving project

Hello.

So I became interested in weaving and built a DIY loom. It's turned out to be so much fun and actually very simple. I've been adding little by little and learned basic fringe and tackled a triangle.


I'm looking forward to learning new stitches and sharing with you :)

Only draw back is my cat keeps getting into the yarn ;(

However, I came across this idea online, courtesy Crochet Crazy.


Enjoy.

xoxo
Ginger

Linking to these parties.

Thursday, March 2, 2017

Granny Squares

Hello.

So in addition to my new interest in weaving, I have also taken up crochet again. I think I'm turning into a granny already :)

It is tough. So may formulas to learn and remember! I wanted to ease back into crochet and my first project, this winter ear warmer, was an easy one with only a single loop stitch and a quick little flower.


All the ladies in my family loved this and requested ear warmers! Currently working on one for my cousin.

Nevertheless, I wanted to up the anti and try some new formulas. I def needed a referesher on double and triple stitches....

A great beginner crochet project is granny squares. Here is a wonderful online class to follow along and learn to make your own :)


Plus the more you practice, the more squares you end up with and soon you have enough to piece together a blanket :)

Here are a few more that I worked on tonight. It takes about 15-20 minutes for me to complete one square. Eventually, I'll have a nice afgan for my couch :)


Enjoy.

xoxo
Ging

Wednesday, March 1, 2017

DIY Dollar Tree Terrarium

Hello.

I've been inspired by a Facebook group that is dedicated to Dollar Tree DIY projects. So I went today to look around and see what I could come up with :)

I ended up getting materials for quite a few projects, but today I focused on two - both floral arrangements. Below is the start to finish for a hanging terrarium I did.

Succulents are all the rage - they are cute, romantic looking plants that are very popular in trendy decor :)

I've wanted to add some to my home - but they can be a little pricey and I am wary of having live plants in the house with three cats. So I stick to floral stems in my house. Plus, less watering to do ;)

I was excited to find some plastic, hanging terrarium globes at the Dollar Tree today and thought one would look lovely in my dining nook.


All the materials came from Dollar Tree :) What you'll need for this project:

plastic terrarium globe
white decor rock
cotton string
metal key chain ring
scissors
masking tape


I pulled the little fake potted succulents out and threw the pots away, but you could save them for another project. I also took a minute to place a few in the globe to figure out which ones to use.


I decided I wanted to make the string to hang interesting, so after being inspired by this class, I decided on classic macrame knots.

I started by doubling some string and making a knot. I then secured it to the ring with a slip loop.


I then wrapped string around my arm evenly six times while holding the end firmly.


 Then cut the bundle to make six long sections of string.


Loop the sections through the ring in the middle, essentially turning six strings into twelve. Then tape the system to the table to secure while you work.


You'll start your first knot at the top, snug to the ring with a tassel knot.

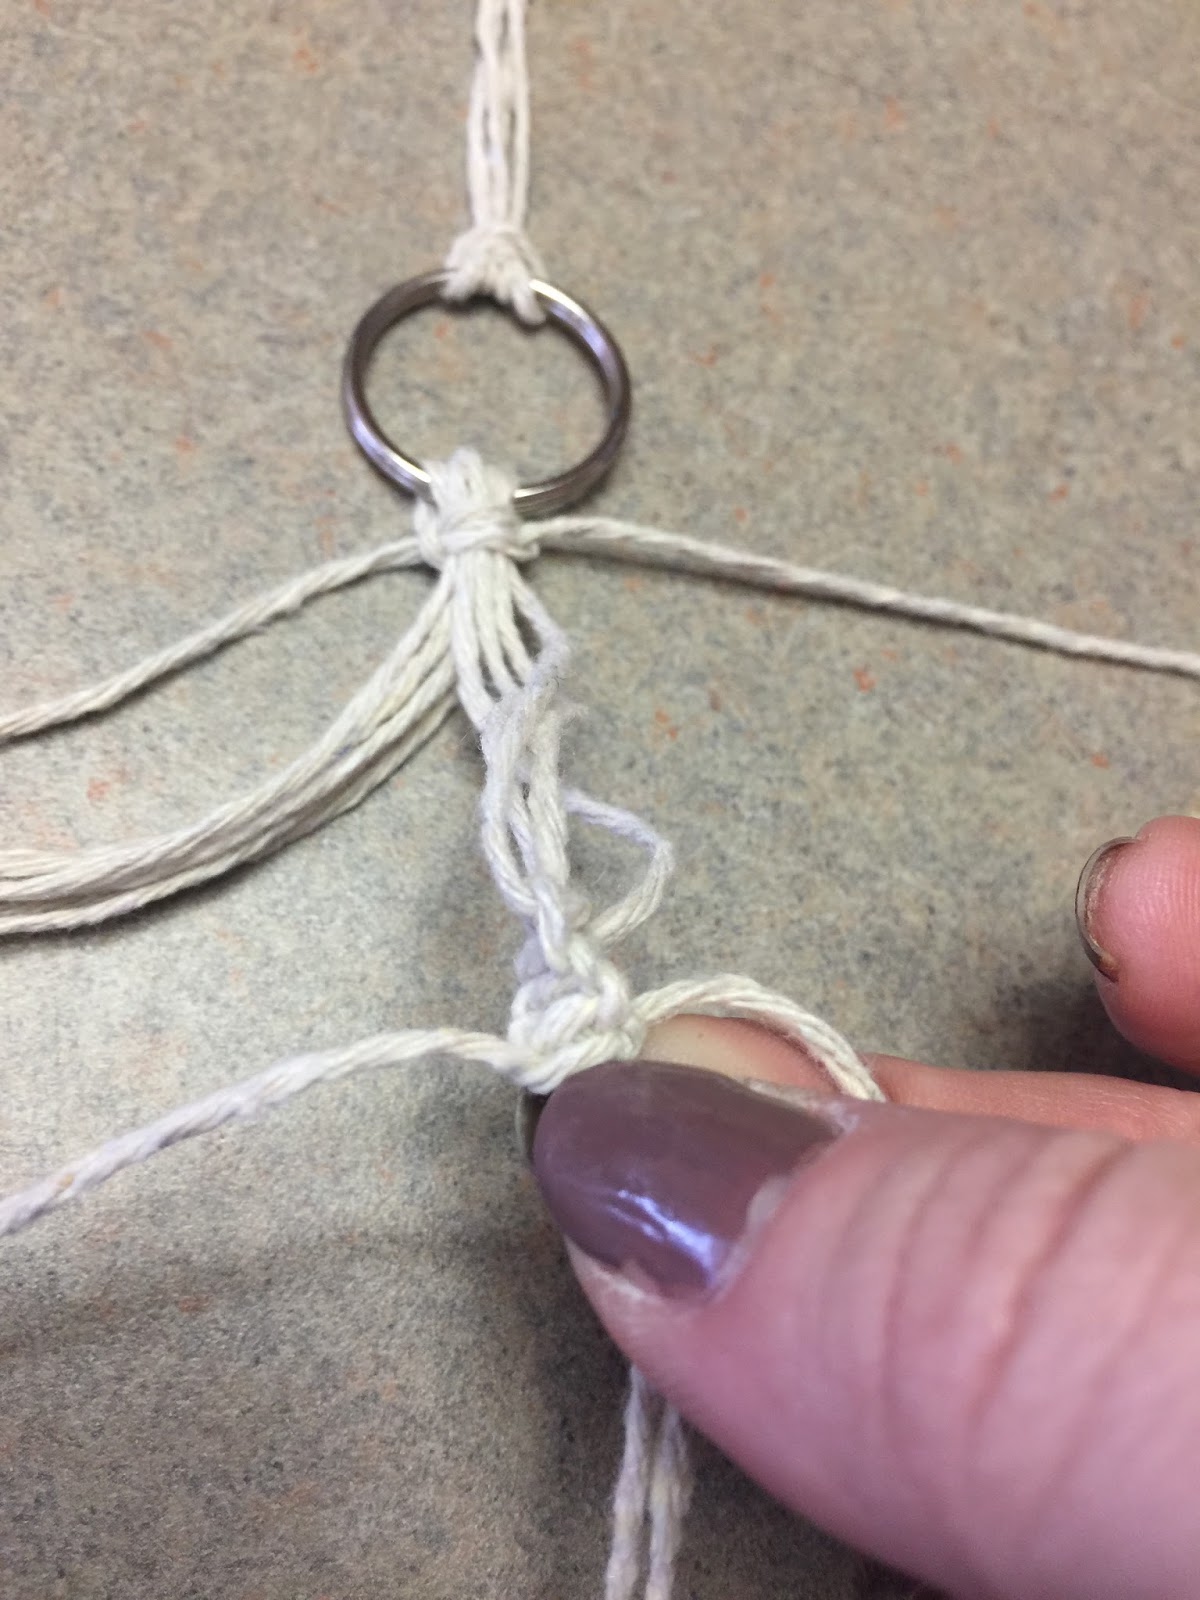
Starting a few inches down, I decided to add a series of spiral knots.


You'll grab the front four strings, pull the far left string in a number four shape, pull the far right string over and then under all four. Then gently tighten.


Continue this pattern of knot, going only far left to far right, 7 times. And continue on all strings until you have three sections.


I then moved down a few more inches to add some more knots. This time, grabbing strings from different bundles.

I chose to use the longest strings to "knot around" the shorter two in the middle of my new bundle of four.


I continued in this pattern until I had three more sets of seven spiral knots.

Time to attach the terrarium globe! I took three strings from the bottom and tied securely to the globe.


I then added the white decorative rock and two succulents to the terrarium. I love how the loose strings fall around the globe :)


Enjoy.

xoxo
Ging

Related Posts with Thumbnails