Showing posts with label pets. Show all posts

Wednesday, April 19, 2017

DIY Cat Cave

Hello.

I think I've mentioned before that I tend to spoil my cats :) I'm always thinking of new toys for them and giving the occasional canned food as a treat.

Here's Oliver looking all majestic in the studio ;)


Today I got a package from Amazon and it came in a pretty big box. And I'm thinking.... what can I do with that? Bingo. Cat cave!

Here's what you need:

Big cardboard box
contact paper
clear packing tape
utility knife
scissors
white craft paint 
paint brush
white cotton rope ( I had some left over from this project)
marker
glue gun
left over carpet piece (I had a piece left over from my cat tree)

Let's get started!

First, draw an arch to cut that will be the opening.


Once cut, tape the box closed with clear packing tape.


Reinforce the other side with tape.
Watch your cat climb in your project LOL!


Cut some contact paper to size and attached to the sides of the box. Cut the corners at 45 degree angles and fold in.


Note: I reinforced the edges of the contact paper with clear packing tape to make sure they wouldn't come up.

Once all the sides except for the opening are covered, grab your paint and brush and add a first coat.
Let dry.


Then add second coat and let dry.


Once dry, plug in the glue gun and hot glue the carpet piece to the top of the cat cave.


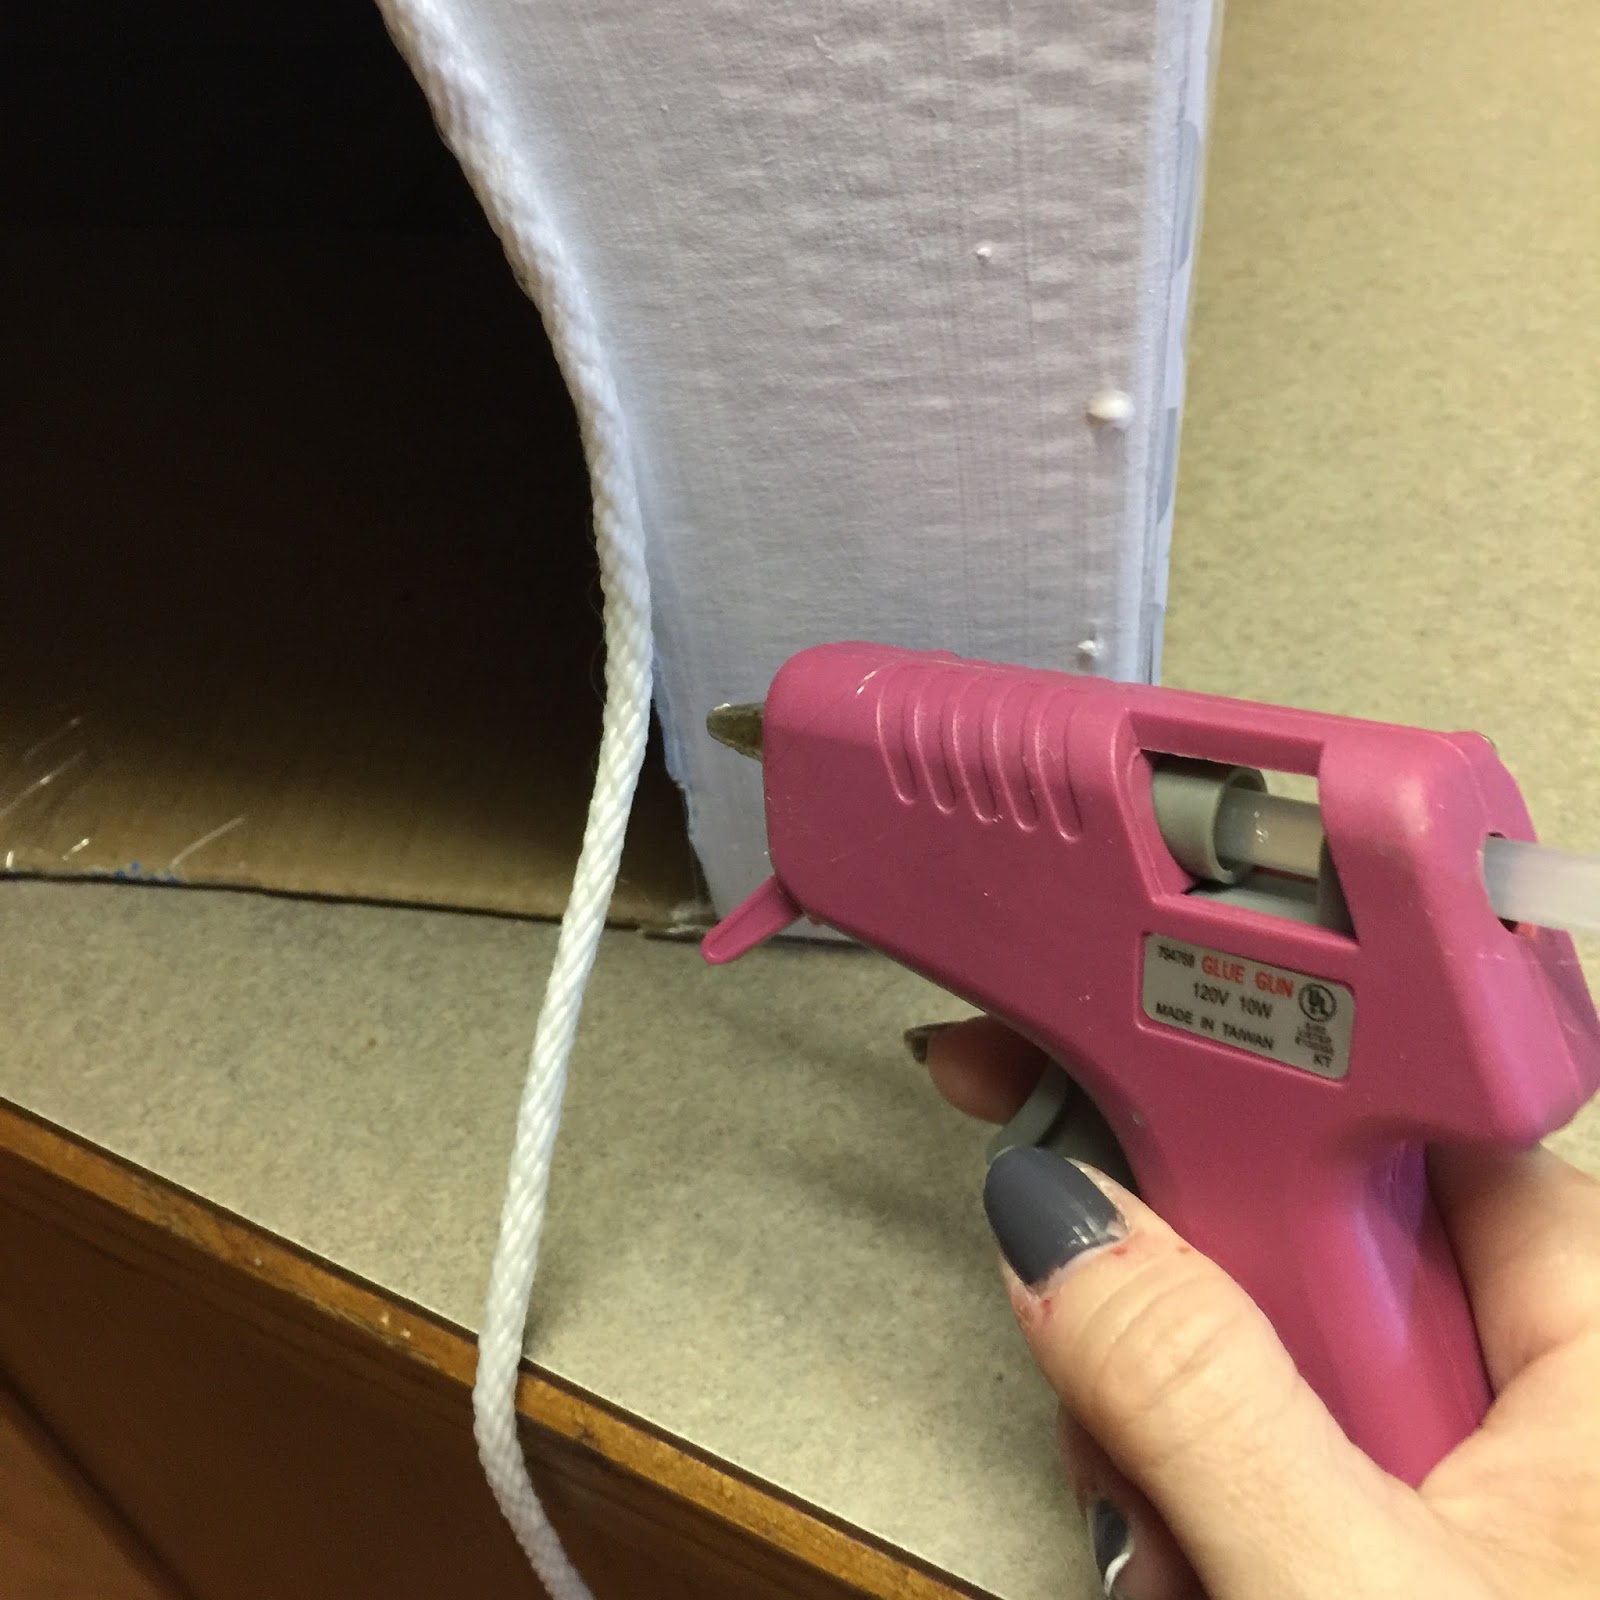
Lastly, hot glue some cotton rope around the opening.

Then add a little catnip as well as an old towel and watch the kitties explore!


I think they like it :)

Enjoy!

xoxo
Ginger

I will be linking up to these awesome parties!


Thursday, March 9, 2017

DIY Cat Toys

Hello.

I have three sweet kitties that are almost as spoiled as my two sons :) I'm forever getting treats and buying them little toys.

I've recently made some new hanging toys for them to bat at.


These are some very simple hanging toys I made to add to our cat tree.

What you need for this quick DIY:

yarn
scrap fabric
scissors
catnip


To make my toys easily interchangeable, I use these metal shower curtain rings to attach the toys to eyelet screws on my cat trees. That way my kitties don't get too bored.


Cut some scrap fabric into strips and attach to the ring with a loop knot.


Make a few pom poms and attach to a ring as well.


To get the excitement going, rub the toys in a bowl of catnip :)

Watch them go crazy!

You can make several variations of toys too. Adding a strip of faux fur and a jingle bell is fun. A bundle of raffia offers enrichment.

Enjoy.

xoxo
Ginger

Wednesday, March 8, 2017

DIY Cat Tree

Hello.

As you've read here, I have four wonderful fur babies. And although I love my giant lap dog to pieces, I'm definitely a cat person at heart.

All four of them are spoiled, but I think I pamper the kitties a lot more. But what English Mastiff would climb this? ;)

This is a custom cat tree I built for my cats a few months ago and thought I'd share :)


But since its erection, my frisky little Oliver has claimed it as his tower!


Cova is a bit plump, so she is content to stay on the floor ;)


Isn't she just charming?! I just love her sweet funny face!

What you'll need for this DIY project:

one (1) 4 x 4 post of any wood, cut to 6 feet tall
one (1) 2 ft square piece of plywood
three (3) smaller, equal sized pieces of plywood for the levels
four (4) large brackets
six (6) medium brackets
drill
box of 1 inch screws
box of 2 inch screws
two (2) rolls of rope
left over carpet peices
marker
box cutter
tape measure
eye let screws
cat toys

The construction of this tree was very simple. I visited my local Home Depot and picked up a cedar post and scrap plywood from the remnant pile. Shopping from this pile is 75% off!

I had the guys at Home Depot cut the plywood into three equal sizes for the levels, I didn't measure. I just eye-balled a size big enough for my cats to lie down on it.

For the base, just remember if you decide to go taller, you'll need a larger base for more stability. I stuck with a 6 foot tall post so it would fit in my car.

As for the carpet, I was able to snag some scraps from Home Depot that were headed to the trash :)

Step 1: Using the drill, attach the post to the base via the large brackets with 2 inch screws. 

(Optional): At this time, measure out and cut a piece of 2 x 2 foot carpet. In the middle of the carpet, cut a 4 x 4 inch hole. Then slip the piece over the post to cover the base. Secure carpet to the wood base with 1 inch screws in each corner.

Step 2: Measure from the bottom where your levels will go. I used two medium brackets for each level for stability. Mark the bracket holes with a marker. Using the drill, attach the medium brackets to the post with 2 inch screws.

Step 3: Using the drill, attach the levels to the brackets with 1 inch screws. At this point, you should have a completed wood tree.

Step 4: Measure and cut three pieces of remnant carpet for the levels with the box cutter. Secure to the levels with 1 inch screws in each corner.

At this point, you could call it finished. But I wanted to add some toys and rope for scratching.

Step 5: At the base, starting from the bottom, attach the end of the rope to the post using the drill and 1 inch screws. Then tightly wrap the rope around the bottom of the tree, securing with screws as you go (about every 5-8 rounds).

Step 6: On the under side of the levels, screw in an eyelet screw and add some hanging cat toys.

Step 7: Sprinkle a little cat nap and watch your fur baby enjoy!


Enjoy.

xoxo
Ginger

Linking to these parties.


Related Posts with Thumbnails