Alrighty...just fyi, I had camera issues so the pics in this tut are a collection of two different diapers to make one final tut. Sorry for the confusion.
Okay! This tut is pretty straight forward but if you've any questions, please feel free to contact me. Also, I'm ready for custom orders...just let me know what you're looking for and we'll get a plan together!
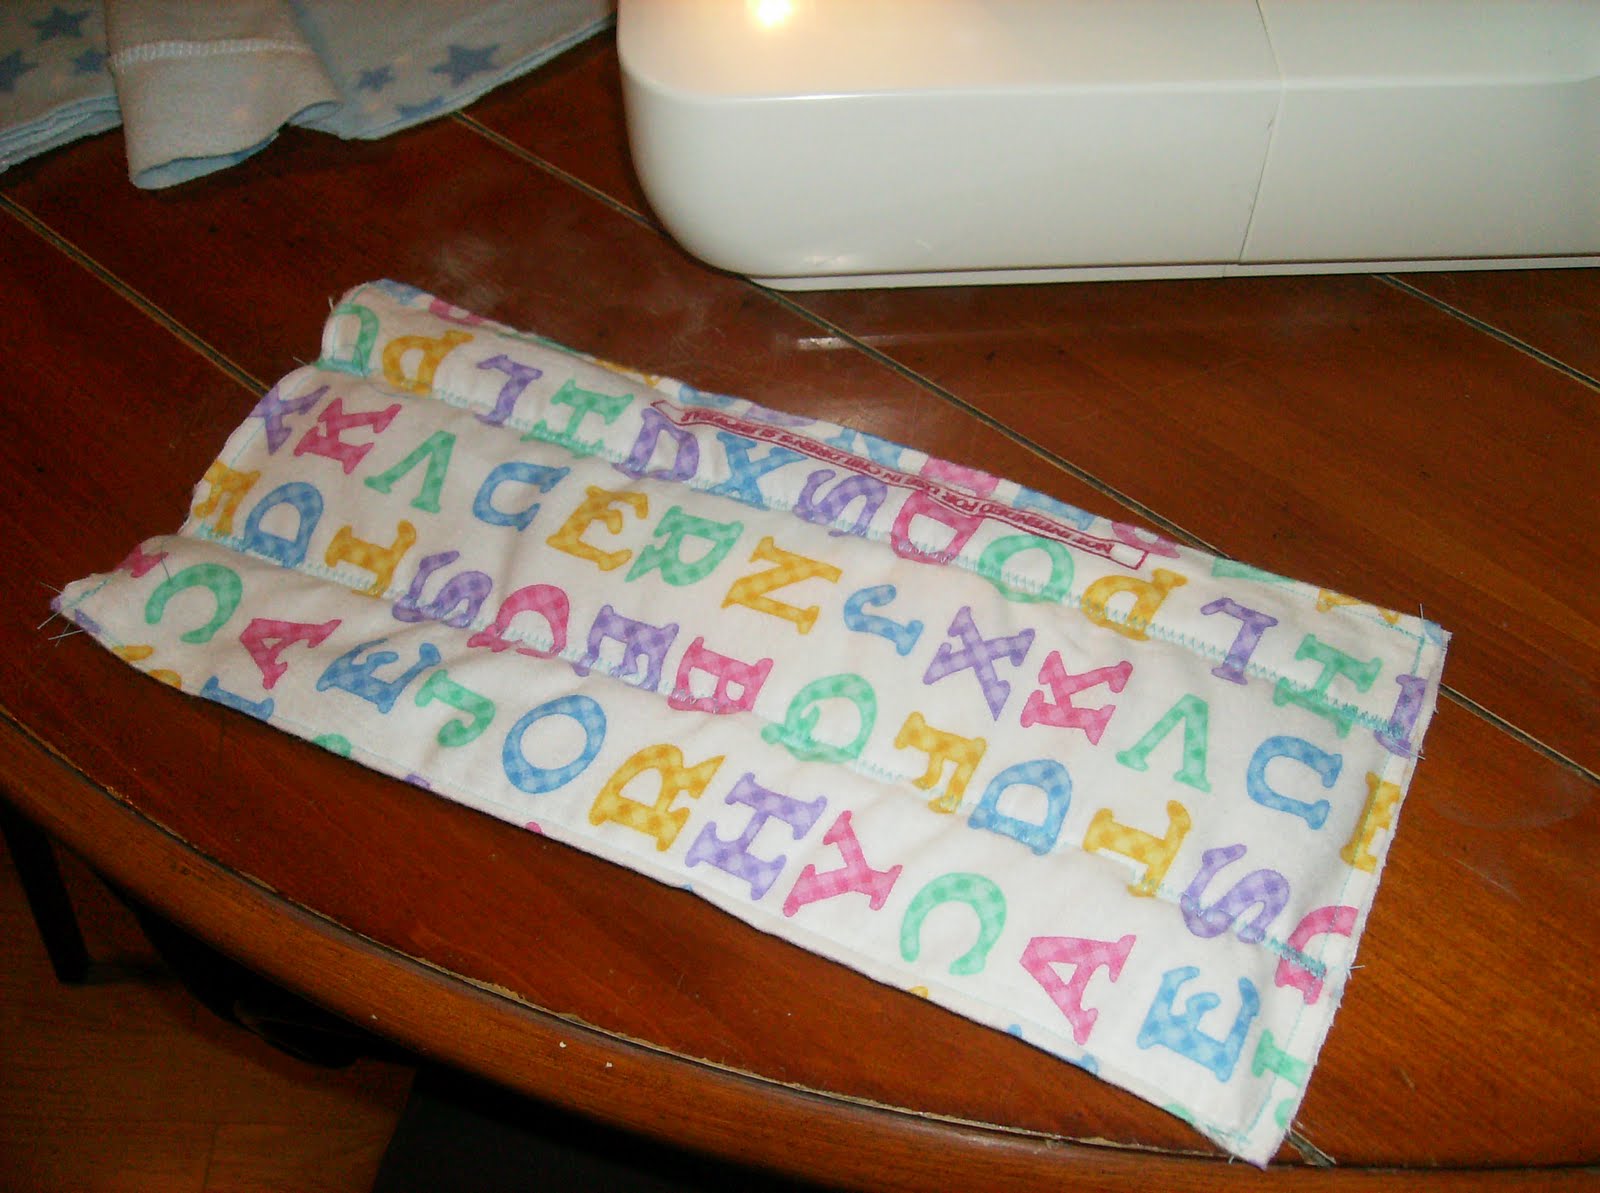
Here are a few that I have finished...


The majority of the pics are of the top blue diaper. The bottom pic is the final product of the same tut using flannel fabric left over from this project.
You'll need:
fabric
scrap fabric (for your insert/doubler)
sewing machine
scissors
thread, etc.
velcro
elastic
elastic
I took an old pair of fleece pajama pants to make the blue diaper! Super soft for baby.

I cut off the elastic and opened up one pant leg.

I cut out a pattern from a sz 4 disposable diaper (be sure to stretch the diaper out to get a proper size)
Cut three layers of fabric for your diaper and lay them out as follows:

Layer one (bottom layer): fabric right side down. Layer two (middle layer): right side up. Layer three (top layer): right side up.
The top layer will be the insert layer (what you sew your insert to). I made a large insert using my tut for a doubler...I just increased the size.

I took some scrap fleece and arranged it to fit inside a folded piece of flannel.
Sew it up with a zig zag stitch all the way around and twice up the middle so your fleece scraps don't move around in the wash.

Sew the insert to the top layer (layer one) to secure it.
Lay out your layers in the proper order (like above) and pin. You should pin it so when turned right side out, the insert layer will be in the middle like the pic below.

Once all pinned up, you are ready to sew! Be sure to leave the bottom end open to turn right side out.
Once all sewn, you can add elastic if you want. I choose not to on this diaper, but to add it, just cut a piece of elastic for each leg about 2.5 inches long. Position the elastic so it stretched down the curve of the diaper. Don't forget to pull it as you sew it down. You can also add elastic along the back, but I found I didn't like it.
Now for the velcro closures (this is where my camera messed up). Turn it all right side out (it will begin to take shape now!) and stitch up the hole.
Cut 4 pieces of velcro for the closures about 2 inches long each. You may want to try it on your baby to make extra sure where you want the velcro. Sew with a small zig zag around the velcro pieces and you're all done! A cloth diaper hand-made by you!

Ginger
SSB
I'm linking:


Get your Craft On at Life as Lori

Punkin Seed Productions


Look at you go with that sewing machine....so proud of you!!!! Yea!!!! I am so glad to see you enjoying it.
ReplyDeleteJanette
Hi, thanks for the invite. I love the diapers.
ReplyDeleteamy
craftedbymama.blogspot.com
You rock! These turned out GREAT! Thanks for the tutorial and for linking to Hoo's got talent!
ReplyDeleteCool! I haven't quite ventured onto the cloth diaper thing. I always keep saying maybe with my next one but I don't know.. They sure are cute though!
ReplyDeleteThose are super cute!! Thanks for the tutorial!
ReplyDeleteLooks like a great tutorial. I use BG 3.0 and have thought about making my own, but haven't tried it yet!
ReplyDeleteSomeday when I have kids, I am going to try cloth diapers. I think I'll keep this tutorial on my list, for future use!
ReplyDeleteThank you for participating in the Creative Therapy session at Life in the Pitts!
Great tute! : ) Those are super cute diapers! : )
ReplyDeletewow, really great! I use cloth diapers, but I bought them all. Are these as great at not leaking or having explosions? Very cute?
ReplyDeleteThanks for linking up to Tot Tuesdays! What a great tutorial this is. Those diapers look just like the ones my mom made for my siblings and I when we were bubs.
ReplyDeleteYeah your blogpost really seems to be good diaper tutorials. As honest diaper are also considered as best way to protect our baby from any harm like rashes.
ReplyDelete