So weaving has become one of my new favorites crafts to do. It is so easy and relaxing! Just put in your ear buds and go to town :)
I decided to make my own mini loom to take with me while traveling. After all, I crochet on the plane, why not weave? It's so simple, I know you all can build one and before you know it, you'll be weaving like crazy.

Here is what you need to get started:

5 x 7 inch stretched canvas
hammer
nails
yarn
pen and scissors (not pictured)
Lets talk about the nails quickly. You will need nails with a flat head. Finishing nails are not a good idea. At least 1 inch long is preferred.

Turn your canvas over and you'll see how it is stretched and stapled in the back.

Start by ripping the canvas off the canvas frame. You could use a flat head screw driver or pliers to take the staples out but it's pretty easy to just rip it.

Then you are left with a perfect wooden frame. You could build your own frame for custom or large scale looms, but this works great for now ;)

Then, using your ruler, measure 1/4 inch from the inside of the frame. Make a mark using the pen.

From that 1/4 inch pen mark, then mark every 1/2 inches.

From each pen mark, draw a line down at 1/4 length.

Then, starting from the end line, measure 1/4 inch in and mark with the pen. You'll then mark every 1/2 inch as before and draw a 1/4 length line as before.
You will now have warp points staggered at every quarter inch. I like to mark the ends of the lines with X's as that is where we will hammer the nails in.

Like this. The nails do not have to be straight or perfect; you mainly want the point of the nail dead on your X for an evenly space warp thread.

We'll then start warping the loom. Tie the yarn at one end nail in a tight double knot. I just used plain white yarn here as the warp threads don't show very much.
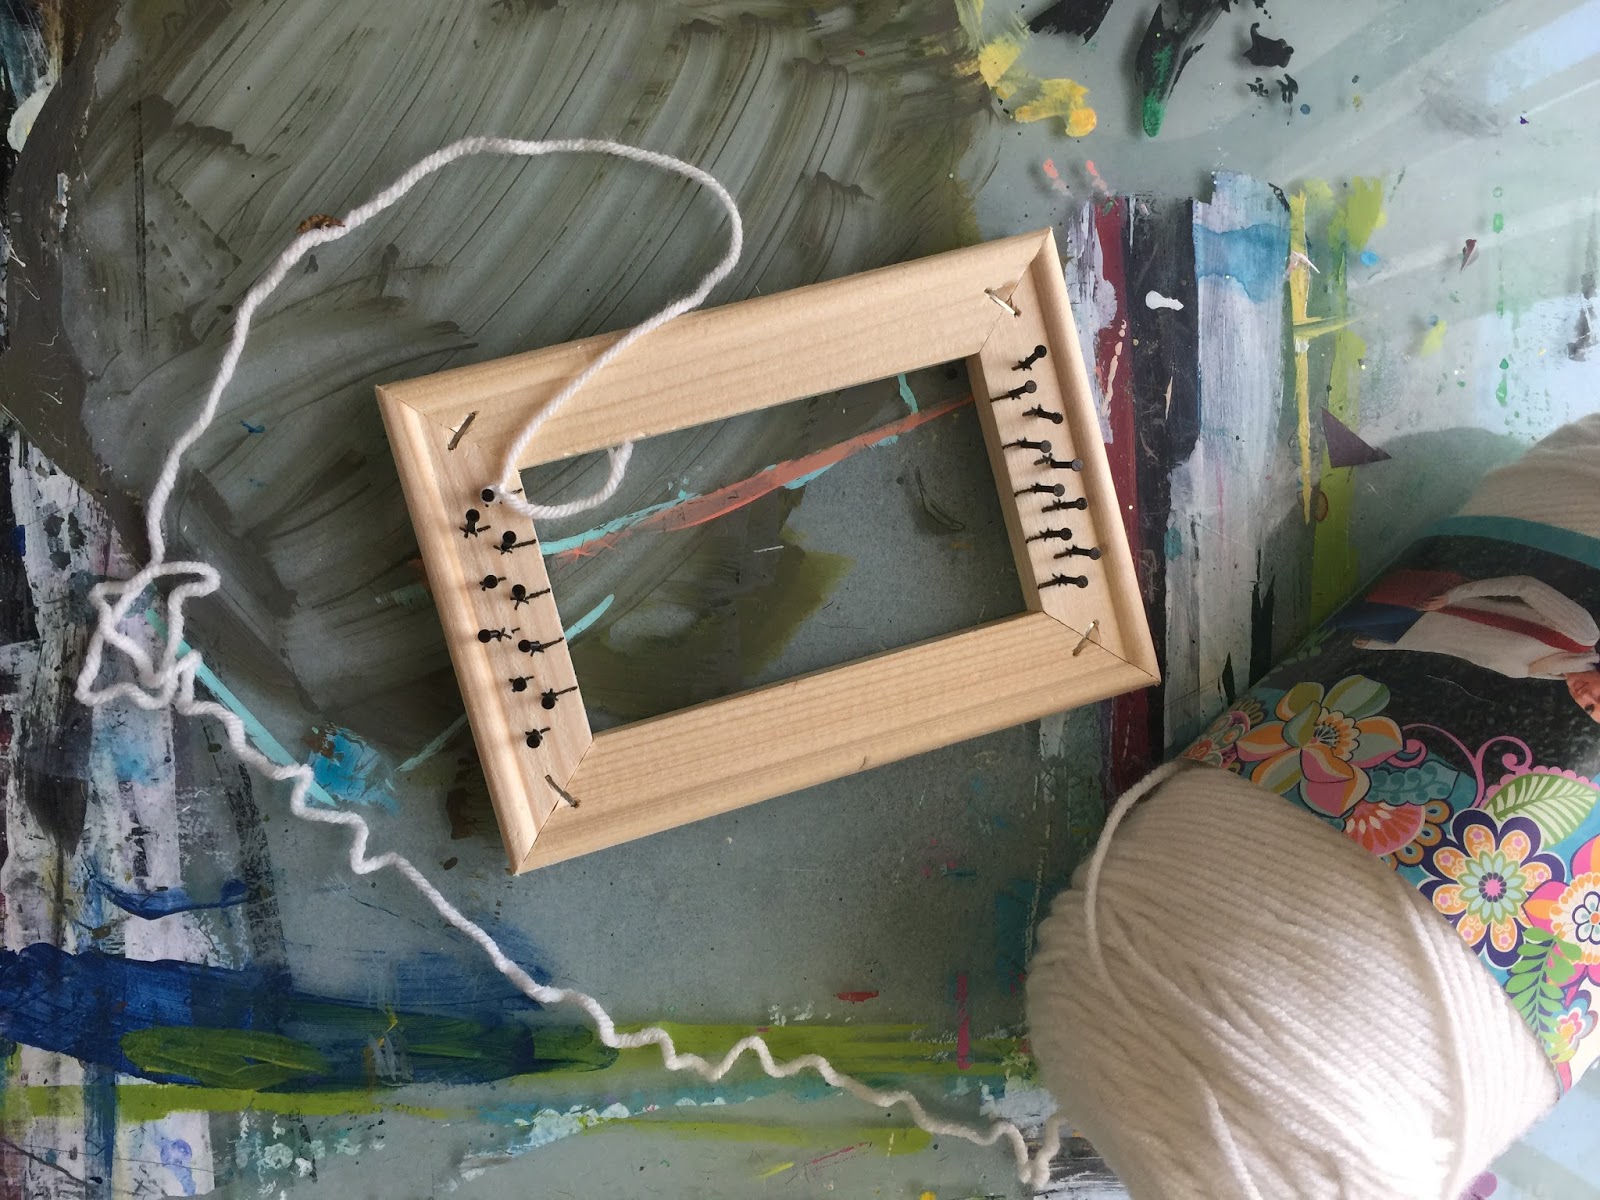
Then begin warping the loom going in an "over and under" fashion. Remember, you don't want them super tight - just tight enough to bounce back when you press down on the warp threads.

When you get to the end nail, carefully make a tight double knot.
You can trim the long tail if you want.

Now you are ready to weave! I even found some mini dowels at the Dollar Tree that will fit this loom perfectly :) All you need now is some pretty yarn and a yarn needle.

Feel free to check out my DIY post of weaving here that includes an online class on beginner weaving.
Enjoy!
xoxo
Ginger
I will be linking up to these awesome parties!


I'm so excited - I've been wanting to make a small loom and had no idea what a good, not too complicated method might be. This one is perfect - hooray for portable crafts! Thanks for sharing with Awesome Life Friday - I'll be featuring this this week. :)
ReplyDelete